How to install Advanced XRay Mod 1.17.1 | 1.16.5 (Higher Level of XRay)
Follows 5 Steps bellow to install Advanced XRay Mod on Windows and Mac :
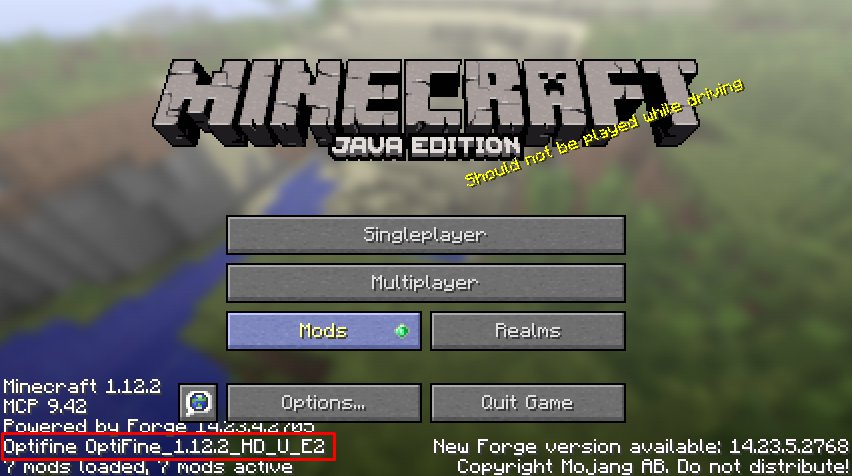
1. You need ready installed Minecraft Forge.
2. Download a Forge compatible mod from url download, or anywhere else!
3. Open Minecraft, click ->> ‘Mods’ button on the main menu, click – >> ‘Open Mods Folder’.Important: Some older versions of Forge may not have the ‘Open Mods Folder’ button. If that is the case, you need to find the folder manually. Windows:
- Press the Windows key and R at the same time
- Type %appdata% and press enter
- Find the Minecraft folder and then look for the Mods folder within that
Mac:
- Click on the desktop and then press Command+Shift+G all at the same time
- Type ~/Library and press enter
- Open the folder Application Support and then Minecraft
4. Place the mod file downloaded (.jar or .zip) into the Mods folder.
5. Relaunch Minecraft, and you should now see the new mod installed in the list!
- Top 10 Best Java Seeds 1.16 and 1.17 for Minecraft
- 7 Best Minecraft Shaders 1.17.1 | 1.16.5 | Minecraft Shaders Download
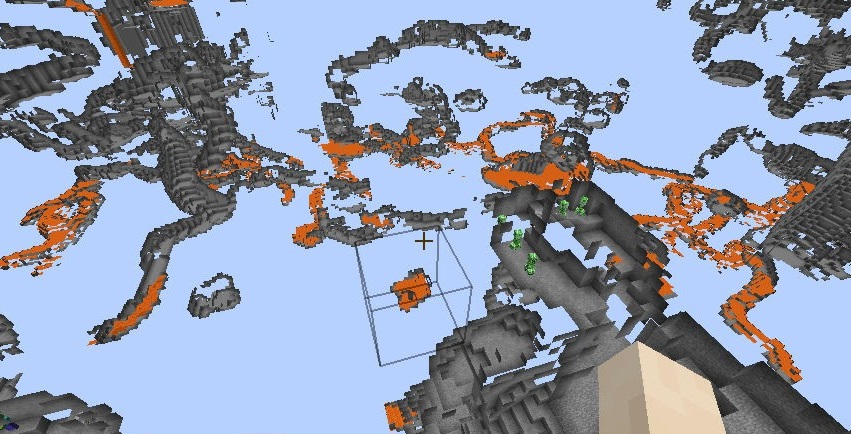
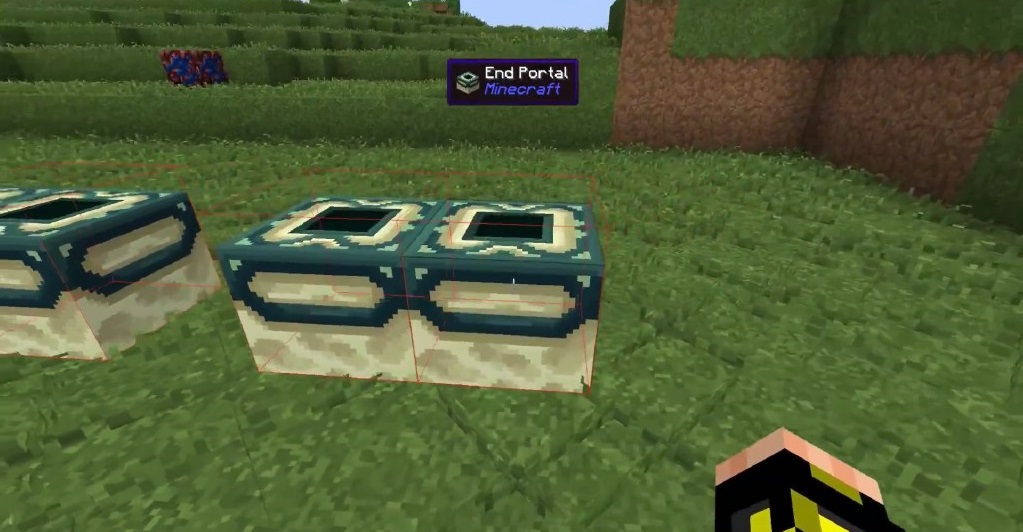
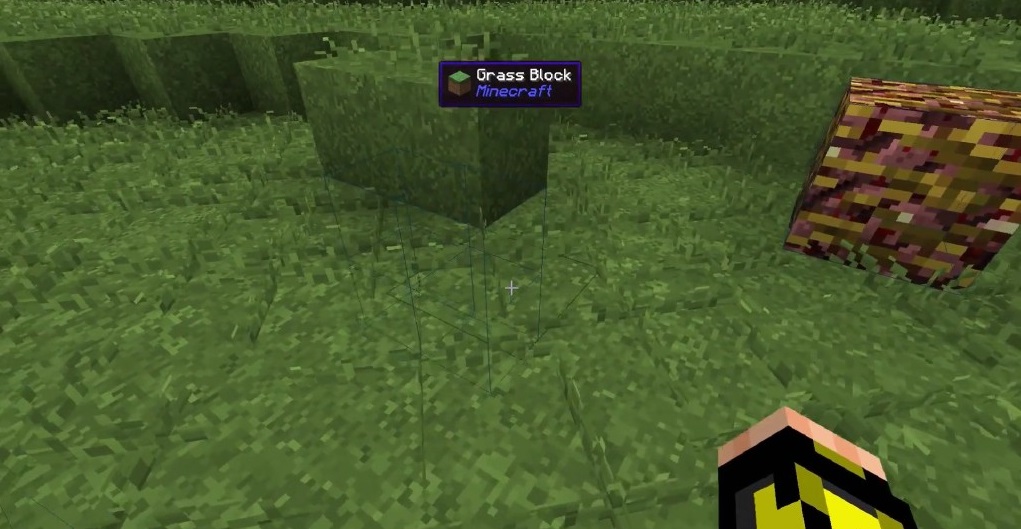
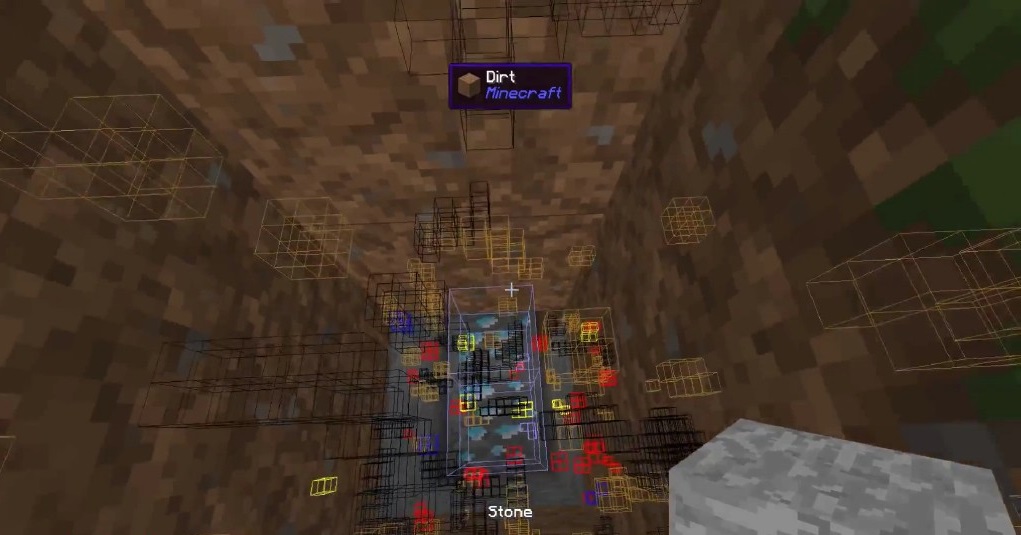
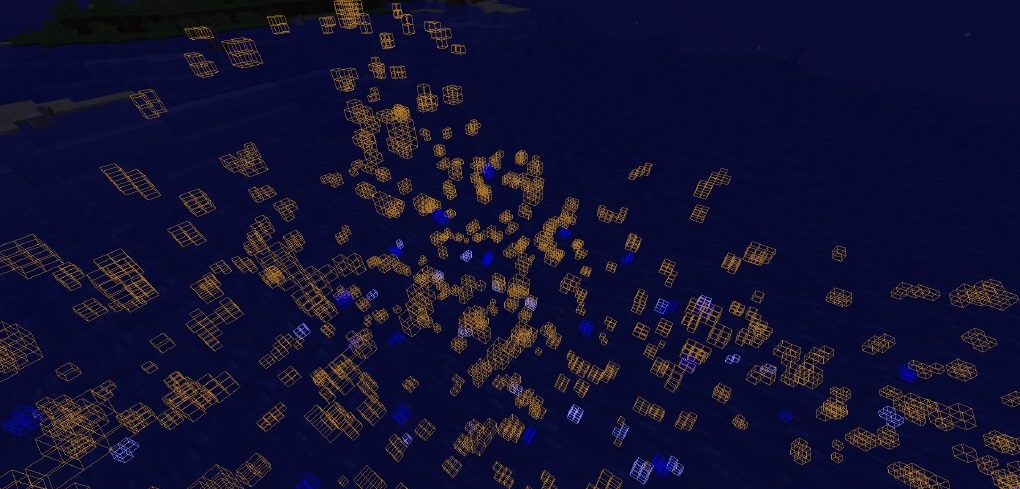
Advanced XRay Mod is not a standard XRay mod. It won’t make all or most of the blocks around you disappear making it difficult to function. Instead it highlights the desired blocks around the world based on a set block distance.
Screenshot :

How to use:
Using XRay
- Press
[Default] Backslashto toggle Xray on and off - Press
[Default] Zto open the in-game GUI
Adding Ores
- Open the GUI Editor pressing
[Default] Z - Select the method you’d like to use to add a block, either From hand, What you can see, or By searching a list
- Modify the Name, Color, and anything else you’d like to change
- Click add and Enable the Block
Editing Ores
- Right click on any item in the GUI and edit as needed
- Click save and the changed will be applied