How to install Named Areas Mod 1.17.1 / 1.16.5 / 1.15.2 (Name Your Area)
Follows 5 Steps bellow to install Named Areas Mod on Windows and Mac :
1. You need ready installed Minecraft Forge.
2. Download a Forge compatible mod from url download, or anywhere else!
3. Open Minecraft, click ->> ‘Mods’ button on the main menu, click – >> ‘Open Mods Folder’.Important: Some older versions of Forge may not have the ‘Open Mods Folder’ button. If that is the case, you need to find the folder manually. Windows:
- Press the Windows key and R at the same time
- Type %appdata% and press enter
- Find the Minecraft folder and then look for the Mods folder within that
Mac:
- Click on the desktop and then press Command+Shift+G all at the same time
- Type ~/Library and press enter
- Open the folder Application Support and then Minecraft
4. Place the mod file downloaded (.jar or .zip) into the Mods folder.
5. Relaunch Minecraft, and you should now see the new mod installed in the list!
- Top 10 Best Java Seeds 1.16.5 and 1.17.1 for Minecraft (August 2021)
- Top 10 Best Minecraft Seeds 1.17.1 Caves & Cliffs – All Platform
Screenshot :

Requires:
Minecraft Forge
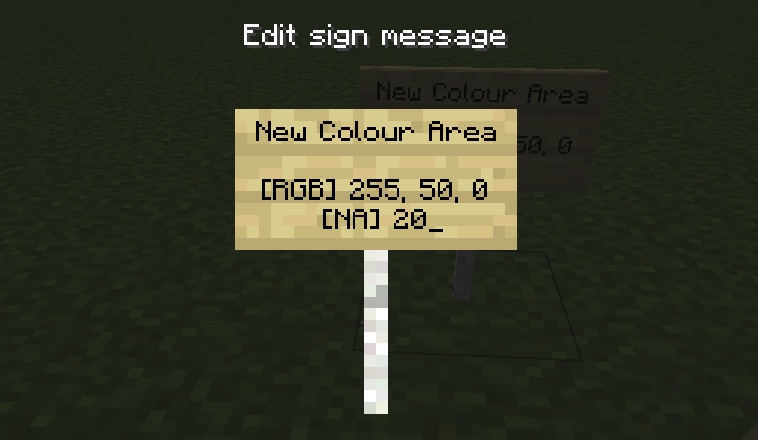
How to use:
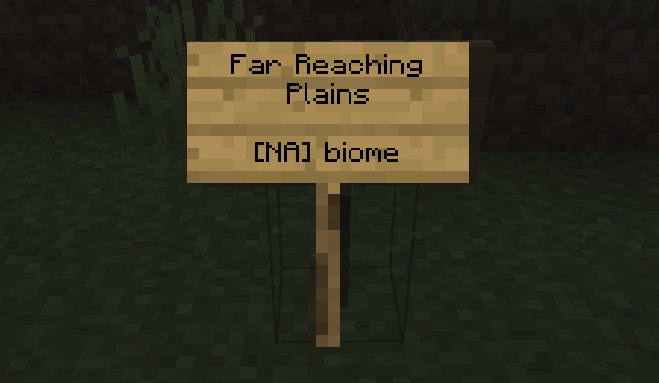
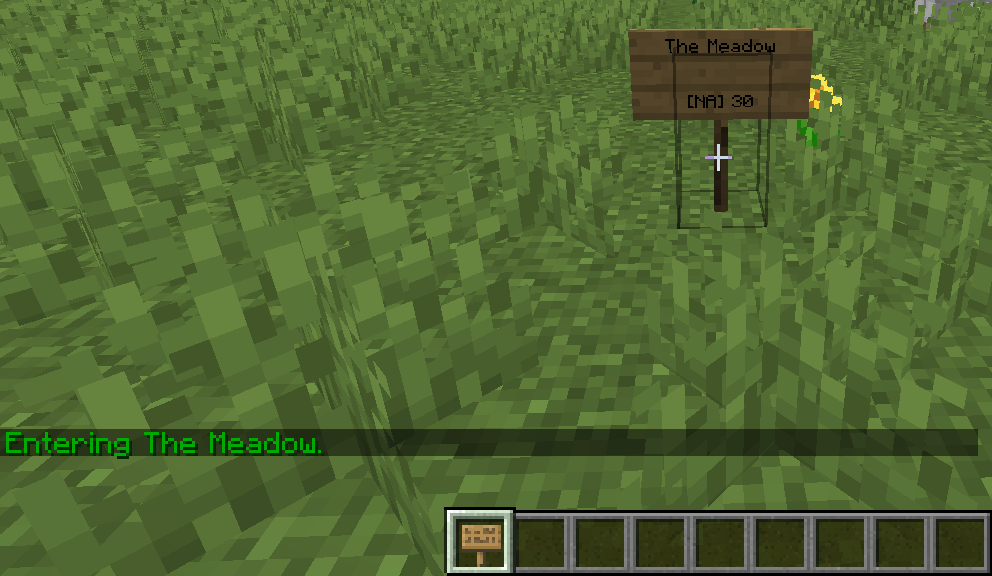
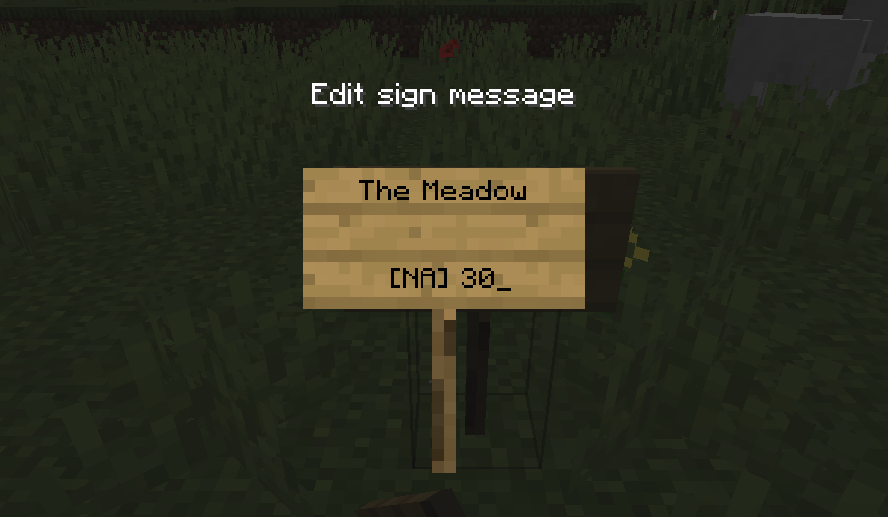
The first three lines are part of the area name. The last line contains “[NA]” (named areas) and “” the radius in blocks around the sign.
Named Areas Mod 1.17.1 / 1.16.5 / 1.15.2 Download Links :
For Minecraft 1.15.2
For Minecraft 1.16.4
For Minecraft 1.16.5
For Minecraft 1.17.1