| Scenario/Problem: | You want to provide a tabbed navigation for your form. |
| Solution: | Use picture buttons and views to display different sets of fields in your form. |
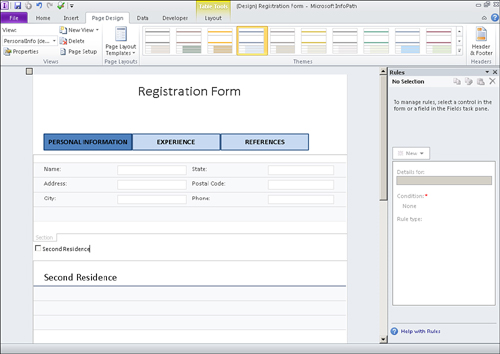
When there are many different groups of unrelated entries in your form, it is recommended to create separate views to handle the display and entry of each group of fields. An aesthetically pleasing way to handle the switching between the views is through a tabbed navigation.
The initial setup of the tabbed navigation requires the following:
Tip
Set all margins on the picture buttons to zero (0) so that they can be placed together without any gaps of whitespace between them.
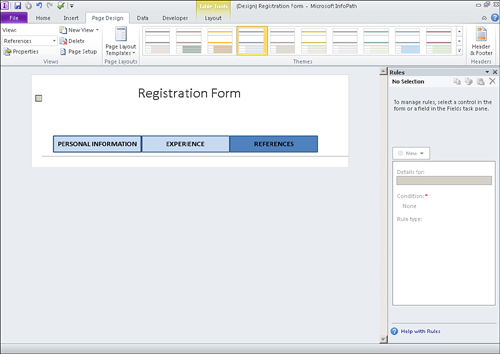
Now that the buttons and views have been configured, we now need to hook up the rules to provide the navigation actions to the tab. You can add the necessary fields to the other views, but that is not required to implement the tabbed navigation.
To implement the navigation, follow these steps:
|
1.
|
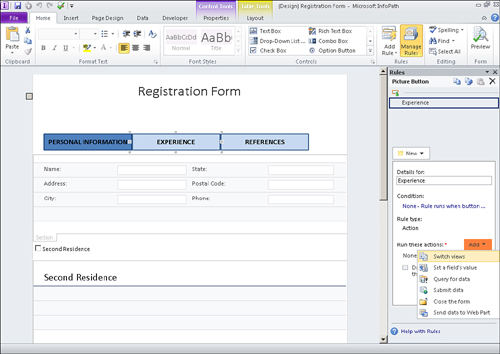
On the first view, select the second button.
|
|
2.
|
Click Manage Rules on the Home ribbon bar.
|
|
3.
|
In the Rules pane, click New, Action to create a new action rule.
|
|
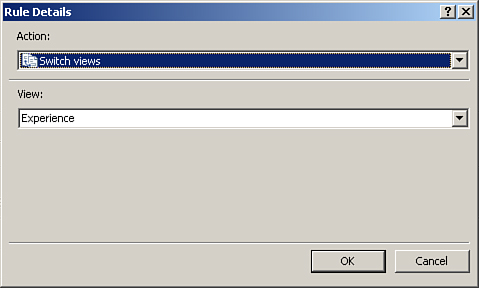
4.
|
|
|
5.
|
|
|
6.
|
|
|
7.
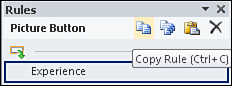
|
Select the next picture button and click the paste button in the Rules pane to paste a copy of the rule.
|
|
8.
|
Correct the name of the rule and click the Switch to View action link to change the view to the current button view.
|
|
9.
|
Switch to the other views of the form and paste the rule on the nonselected buttons. Change the rule names and actions accordingly.
|
That’s it! Preview your form and click the buttons. The corresponding views display based on the button you click.
Tip
Use the button properties to make each button the same height and width. This provides a smoother transition between views.