You will create a diagram from a template you haven’t used yet. In the second part, you will use an important new Visio feature that enables you to replace any shape with an entirely different shape, and yet retain all of the original shape’s key characteristics.
Note
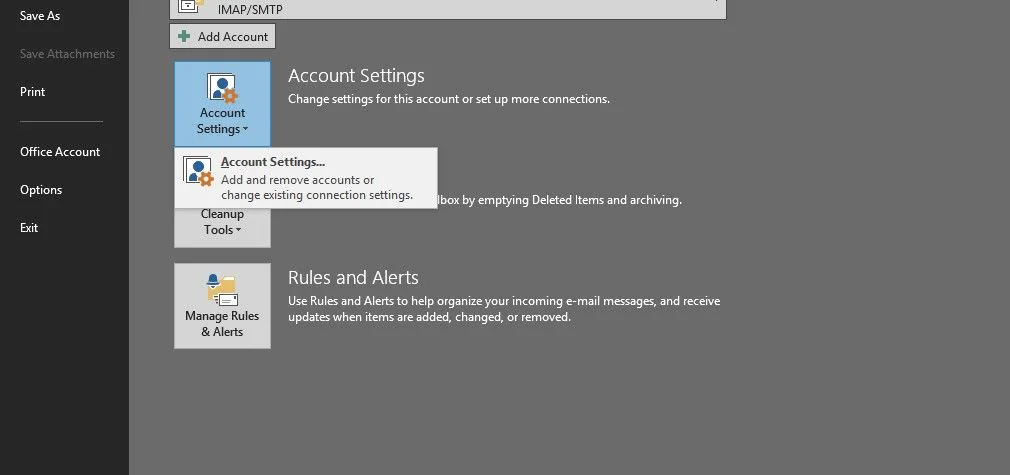
SET UP Click the File tab, and then click New. Click Categories, click Maps and Floor Plans, and then double-click the Directional Map (not Directional Map 3D) thumbnail. Save the new drawing as Change Shapes.
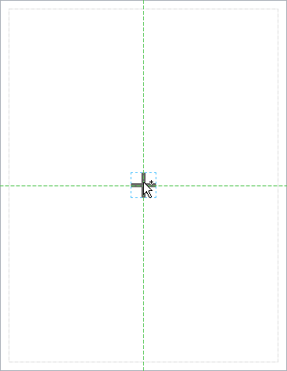
- From the Road Shapes stencil, drag a 4-way shape and use the Dynamic Grid to drop it in the center of the drawing page. Leave the shape selected.
Tip
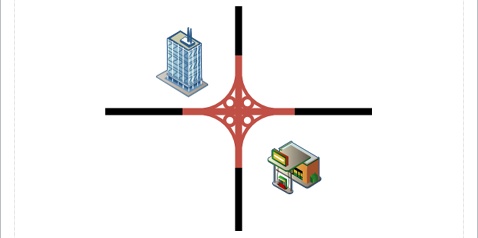
When you drag the first 2-D shape onto an empty drawing page, the Dynamic Grid provides both horizontal and vertical center lines, as shown in the preceding graphic. The center line feedback is not provided if the first shape is a 1-D shape, or if the page contains any other shapes.
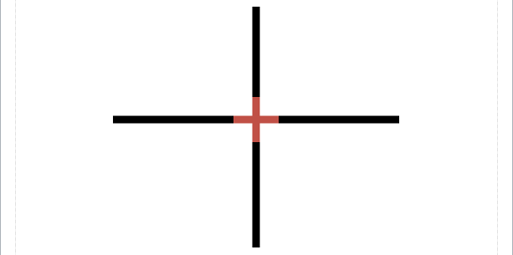
- With the 4-way shape still selected, on the Home tab, in the Shape Styles group, click Line, and then in the Standard Colors section of the color menu, click Red. The purpose of the red color is simply to make this shape more visible during the remainder of this exercise.
- Drag a Road square shape onto the page and glue one end to the right end of the 4-way shape. Then drag and glue a second Road square to the left end of the 4-way shape.


- Drag two additional Road square shapes onto the page and glue them to the top and bottom of the 4-way shape.

- Click the unglued end of the Road square shape attached to the top of the 4-way shape and drag it up and to the right until it is aligned vertically, and then do the same thing with the Road square shape attached to the bottom, but drag it down and to the right.

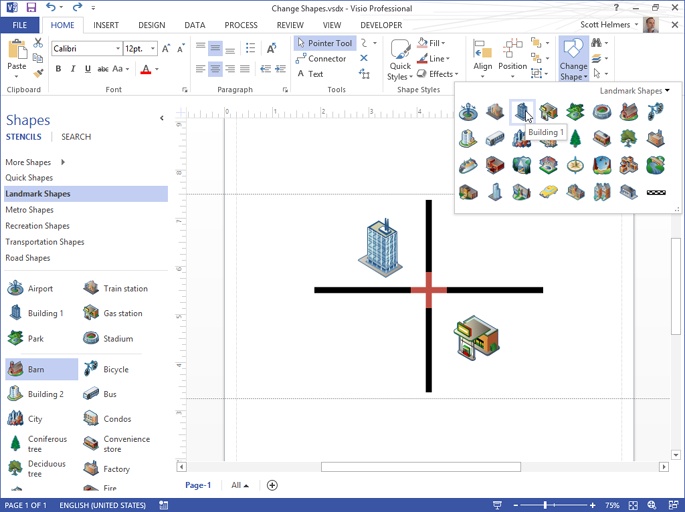
- In the Shapes window, click the Landmark Shapes stencil header, and then drag a Barn shape into the upper-left quadrant of your roadmap.
- Drag a Gas station shape into the lower-right quadrant of your map.

You’ve now created the basic diagram on which you’ll use the Change Shapes feature.
- Click the Barn shape on the drawing page once to select it.
- On the Home tab, in the Editing group, click Change Shape, and then in the Change Shape menu, point to the Building 1 icon. Notice that Live Preview has replaced the Barn shape on the drawing page with the Building 1 shape.

Tip
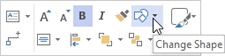
You can also access the Change Shapes button on the right-click Mini Toolbar as shown in the following graphic.

- Click the Building 1 icon. Visio has replaced the shape on the page with the one you selected.
- Right-click the 4-way shape on the drawing page to select it, and then on the Mini Toolbar click Change Shape.
- In the Change Shape menu, click the arrow to the right of Landmark Shapes to reveal a list of the other open stencils.
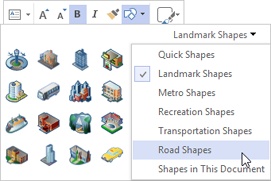

- Click Road Shapes. The Change Shapes menu displays icons for the Road Shapes.
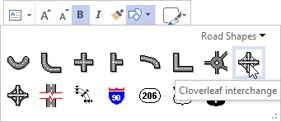

- Click Cloverleaf interchange as shown in the preceding graphic. Visio replaces the simple four-way intersection with a cloverleaf shape. Notice that the newly inserted shape includes the altered color you applied to the 4-way shape. In addition, the Road square shapes that were glued to the 4-way shape are now glued to the Cloverleaf interchange.
Important
In general, the shape on the drawing page after a change shape operation retains the formatting, text, and shape data of the original shape.
Note
CLEAN UP Save your changes to the Change Shapes drawing, and then close it.
The ability to replace one shape with another is a long-requested feature in Visio that is finally available in Visio 2013. In this exercise, you replaced one shape at a time, but if you select more than one shape, you can replace all of them at once.