1. Recover a Deleted File or List Item
Scenario/Problem: You have accidentally deleted a file or a list item that you need.
Solution: SharePoint has built-in Recycle Bin functionality that allows you to retract deletions. By default, files and items that were deleted are kept in this Recycle Bin for 30 days, but the site you are using might have different settings. After this time, they are moved to the site administrator’s Recycle Bin. So if you don’t see a file or list item that you have deleted in the past, ask your administrator to recover it for you.
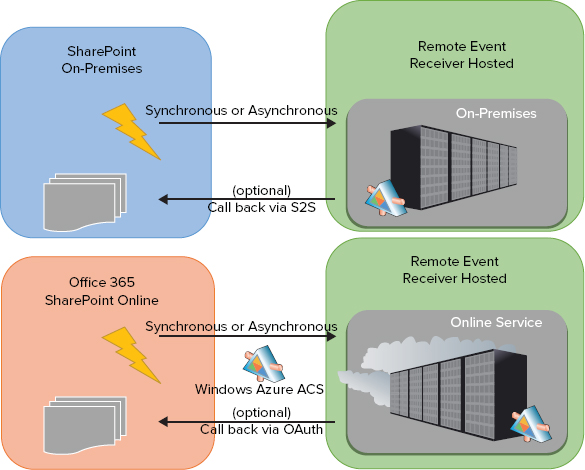
To restore a file, navigate to the Site Contents Page , and click the Recycle Bin link at the top of the page. Clicking this link opens the Recycle Bin page, which shows all the files and list items you have deleted in that specific site (see Figure 1).
In the deleted items list, you can see the name of the deleted item or file, the original location (site and document library or list and folder), and other data about the file or item, such as who created it in the first place, when it was deleted, and, for files, what size it was.
To restore one or more files and items, select the check box next to each item you want to restore and click Restore Selection. The item or file is restored with all its versions and properties.
You can also permanently delete an item or file from the Recycle Bin by selecting Delete Selection.
2. Edit the Properties of a File or List Item
Scenario/Problem: You want to change some of the values that have been entered into the columns for a specific file or list item. For example, you might want to change the details for an event in a calendar list or the name or title of a document in a document library.
Solution: Lists and document libraries in SharePoint might be configured to ask you for properties for files and list items. This data appears when you view the properties of a file or list item or as columns when you view the document libraries or lists. This data might also be shown when you search for documents using the advanced search .
Properties information is useful when you are looking for a file or a list item. You might be able to search for it based on the value that is set in its properties.
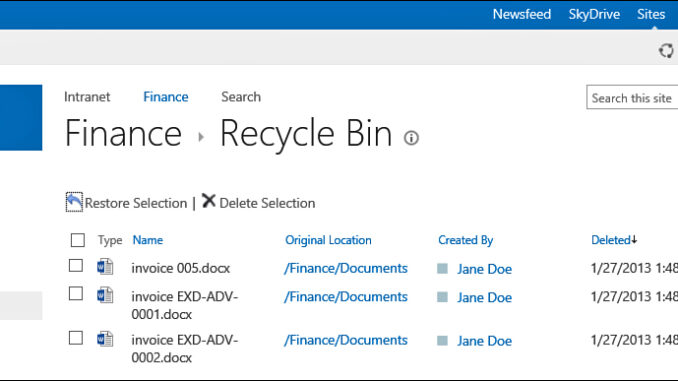
To edit the properties of a file, you locate the file in the folder where it was saved and highlight that file by selecting the check box that appears to the left of the file or item when you hover the cursor on the row for that file or list item. Then, switch the ribbon to the Files ribbon. If you have permissions to edit that file’s properties, the Edit Properties button is available in the ribbon (see Figure 2).
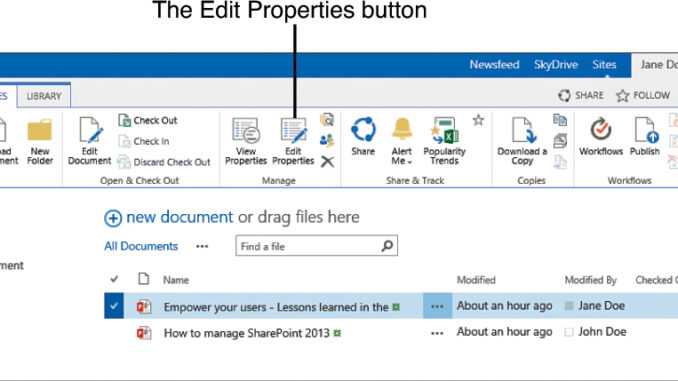
FIGURE 2 The Edit Properties button in the Files ribbon.
Note
Confusing the Edit Document button with the Edit Properties button is easy to do. The Edit Document button opens a document for editing, whereas the Edit Properties button opens the document’s properties page.
Alternatively, you can click the three dots next to a file’s name to open the file information dialog, and then click on the three dots in that dialog to open a drop-down menu. If you have permissions to edit that file’s properties, you see the Edit Properties option in this menu (see Figure 3).
FIGURE 3 The Edit Properties menu option appears when you have permissions to edit a document or a list item’s properties.
With list items, the procedure is slightly easier than with files. Although you can go through the same process as for files (described in the preceding paragraph), you can also simply click the title of the list item to open the dialog that shows the item’s properties and then choose Edit Item from the available ribbon. Clicking this button switches the dialog to one where you can modify the current properties of the file or list item.
When you’re editing the properties of a file or a list item, properties that are mandatory are marked with an asterisk (*), and you must fill in those properties before you can save your changes (see Figure 4). If you don’t fill in those properties, SharePoint does not let you click OK and tells you what properties are not filled in.
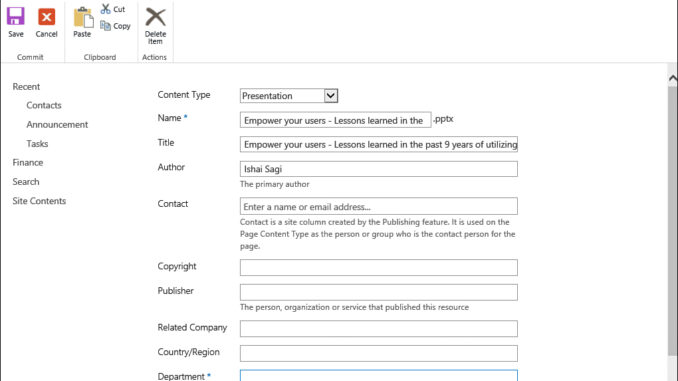
FIGURE 4 When you do not fill in a required property, SharePoint prompts you to do so when you try to save.
File and list item properties can be of different types, and each type has a different way of capturing data (see Figure 5). For example, a text property displays a text box for you to enter data. A date property can appear as a text box (for the date) with a button next to it that looks like a calendar that allows you to choose a date, and it might even have two drop-down menus for selecting a time. A yes/no field appears as a check box.
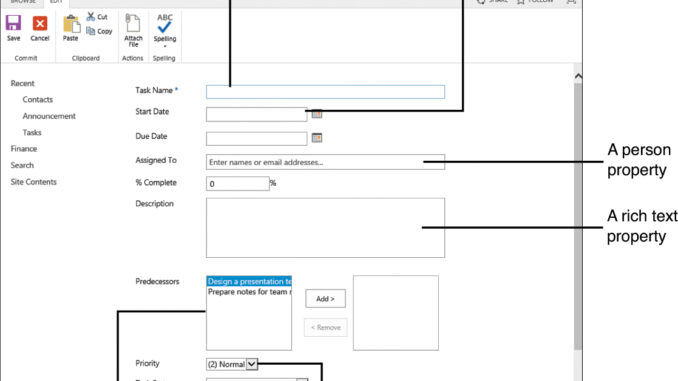
FIGURE 5 For different property types, you enter or select data in different ways. In this task form, you can see seven different types.
SharePoint also validates the properties based on the types. This means, for example, that you cannot write text in a date field or in a numeric property. If you do so, SharePoint shows you a red error message under that field and prevents you from saving the properties until you fix the problem.
In addition, the document library or list manager might choose to impose additional conditions on some of the properties. For example, it might state that the title of a file should be fewer than 43 characters long. SharePoint also alerts you if you try to save the properties when one of those conditions is not met, and it tells you what field is not set correctly and what limitations are configured for that field.
An important action when creating a new file in some document libraries is choosing the content type for the file. Different content types require different properties, so it is recommended that before you enter the other properties, you select the content type first. This should not be a problem because the Content Type property is always the first one to appear in the list of properties if the document library was configured to use more than one content type, as you can see in Figure 6.
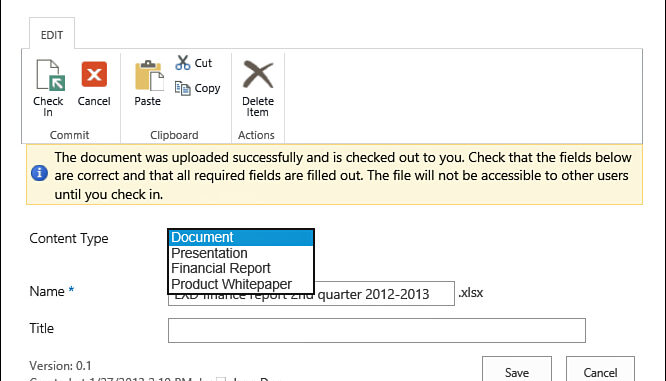
FIGURE 6 The content type is the first thing you need to choose when uploading a file.
Changing the content type causes the properties page to refresh and load the properties that are required for the selected content type. However, if the new content type has some of the same properties as the old one, the values in those properties are not lost. You can therefore switch between content types without worrying about losing the information.
After you have filled in all the properties you want, you click Save at the bottom or the top of the page to save the changes.
If the document library is set up to require you to check in and check out files, you must check in the file after changing its properties.
To edit the properties of multiple list items or files, you can also use the Quick Edit view.