Since the release of Kindle Fire there have been a lot of customization guides that have helped Kindle Fire users to enhance the functionality of their tablets. In a previous post I showed you how to get an Ice Cream Sandwich Launcher for Kindle Fire in two easy steps. But if you would like to switch back to the stock Kindle Launcher or would simply like to regain the option to choose a different launcher, then here is a simple guide to help you do just that. For instructions, see the below video [by “Jeff Benjamin”], followed by the step by step to help you change your default Kindle Fire launcher.
Instructions
Step 1: To get started, head over to Settings –> More –> Applications.
Step 2: In the filter select the option “All Applications”.
Step 3: Now, find your default launcher, for example, “Go Launcher″ and tap on it.
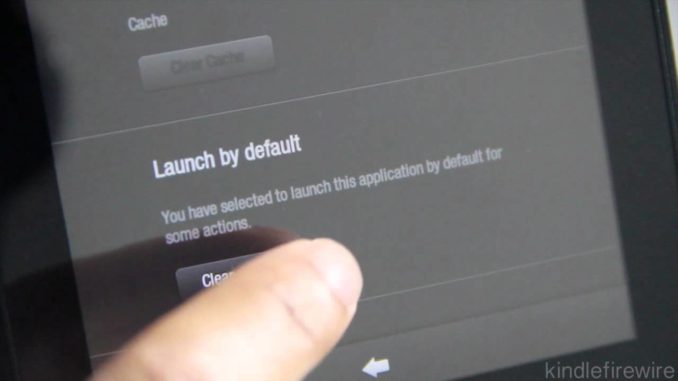
Step 4: Under the “Launch by default” option, tap on “Clear defaults”.
Step 5: Once done, tap on the home button and you will be able to see a launcher selection option, i.e. if you have multiple launchers installed on your Kindle Fire device. From here, check the “Use by default for this action” option and select your desired launcher that you wish to switch to e.g. “Kindle launcher”.
For more Kindle Fire related tips, guides, applications, launchers, e-book format converters and update instructions click here. To keep updated with the latest Kindle Fire customization guides, updates and queries, keep visiting WML Cloud.
[via Kindle Fire Wire]