IT professionals will quickly recognize that the installation process for Windows Media Services on Windows Server 2008 R2 is not as simplistic as it was with previous Windows Server operating systems. In the past, an IT professional would simply add the Windows Media Services component through Add and Remove Programs as it was included with the base Windows Server operating system. With Windows Server 2008 R2, more steps are involved in the installation process. Windows Media Services is no longer included with the Windows Server 2008 R2 family of operating systems, as it is offered as a separate out-of-band download. Therefore, IT professionals will need to download the Microsoft Update Standalone (MUS) package from the Microsoft website and install it on Windows Server 2008 R2. Unlike Windows Server 2008, there is only one MUS package that needs to be downloaded for all editions of Windows Server 2008 R2. After the installation is complete, the next step is to add the Streaming Media Services role in Server Manager.
Downloading the Windows Media Services Source Files
As mentioned earlier, the first step when installing the Windows Media Services role on Windows Server 2008 R2 is to obtain the Windows Media Services for Windows Server 2008 R2 installer files from the Microsoft website.
The out-of-band Windows Media Services installation files for Windows Server 2008 R2 can be obtained from the Windows Media Services 2008 website at http://www.microsoft.com/windows/windowsmedia/forpros/serve/prodinfo2008.aspx.
Conducting the Windows Media Services Installation
To install the Windows Media Services role on a Windows Server 2008 R2 system, perform the following steps:
|
1.
|
Obtain the appropriate Streaming Media Services installer file from the Microsoft website.
|
|
2.
|
Click Download and run the installation immediately by clicking Open in the File Download dialog box or click Save to download the file to your computer. The latter choice allows you to conduct the installation at a later time.
|
|
3.
|
After the installation for Windows Media Services is complete, click Start, Administrative Tools, Server Manager. If Server Manager was running during the install, close and reopen it to display the newly available role.
|
|
4.
|
Select Add Roles by right-clicking Roles in Server Manager, which is located in the left pane.
|
|
5.
|
On the Select Server Roles screen, install the role by selecting Streaming Media Services in the Roles section, and then click Next.
|
|
6.
|
Review the messages in the Streaming Media Services screen, and click Next.
|
|
7.
|
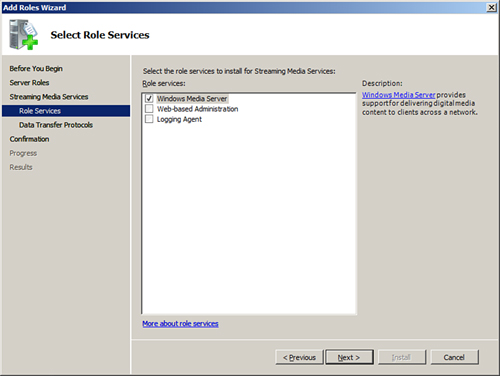
Select the desired Streaming Media Services role services to install. The role services options include Windows Media Server, Web-based Administration, and Multicast and Logging Agent. For this example, Windows Media Server was selected, as illustrated in Figure 1. Click Next to continue.
Figure 1. Selecting the role services to install for Streaming Media Services
|
|
8.
|
Select the data transfer protocol for streaming media content, and then click Next. The two options available are as follows:
|
|
9.
|
Confirm the installation selections, and click Install to install the selected roles, role services, and features.
|
|
10.
|
To complete the installation, review the installation results, and then click Close.
|
Configuring Windows Media Services
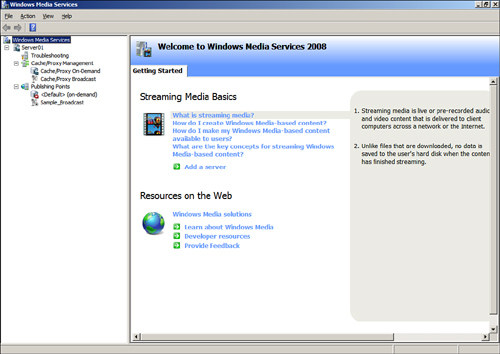
After being installed, the services for Windows Media Services are set to start automatically. The next step is to configure Windows Media Services to meet the video and audio publishing requirements of your organization. To do so, launch the Windows Media Services MMC administration tool by selecting Start, All Programs, Administrative Tools, Windows Media Services. You will see a screen similar to the one shown in Figure 2. The Getting Started tab includes informational items on Streaming Media Basics and Resources on the Web. In addition, if you select the server in the left pane, additional Getting Started tabs can be found in the right pane.
Figure 2. The Windows Media Services MMC administration tool.