Once you have created volumes on your server disks, you are ready to create shares. The Windows SBS Console provides access to the Provision A Shared Folder Wizard, which is the same tool you can use to create shares in the Share And Storage Management Console, a tool included with Windows Server 2008 R2. Once you have created shares, you can manage their basic properties from within the Windows SBS Console as well.
Creating a New Share Using Windows SBS Console
To create a new shared folder or volume with the Windows SBS Console, use the following procedure:
- Log on to your Windows SBS 2011 server, using an account with network Administrator privileges. The Windows SBS Console appears.
- Click Shared folders and web sites and then select the Shared folders tab.
- In the Tasks list, click Add a new shared folder. The Provision A Shared Folder Wizard appears, displaying the Shared Folder Location page.
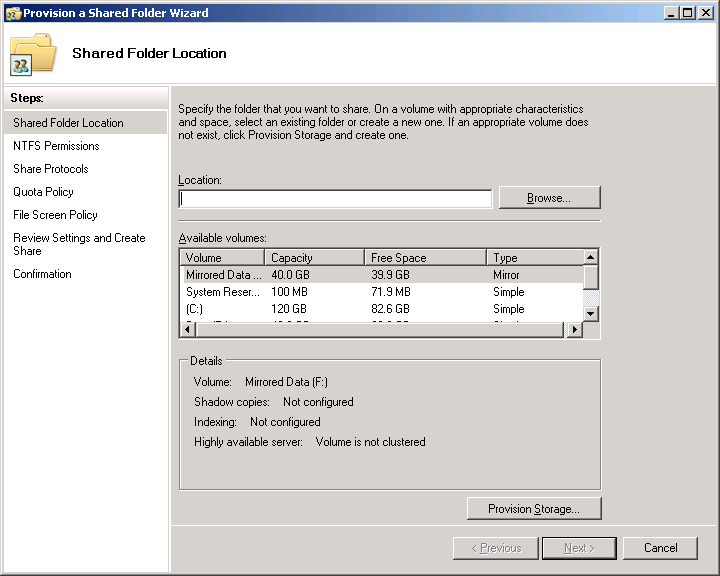
- Click Browse. The Browse For Folder dialog box appears.
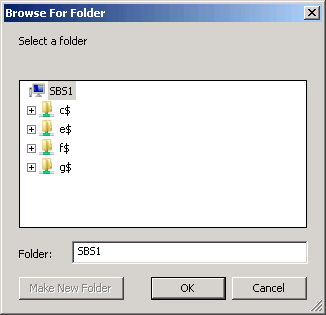

- Select the volume on which you want to create the share. If you want to share a folder on the volume, browse to the folder and select it. You can also click Make new folder to create and share a folder on the selected volume. Then click OK.
Note
MORE INFO You can click Provision storage to start the Provision Storage Wizard, which enables you to create new volumes. However, this wizard can create only simple volumes. To create a striped, spanned, mirrored, or RAID-5 volume, use the Disk Management snap-in or the Diskpart.exe command line utility.
- Click Next. The NTFS Permissions page appears.
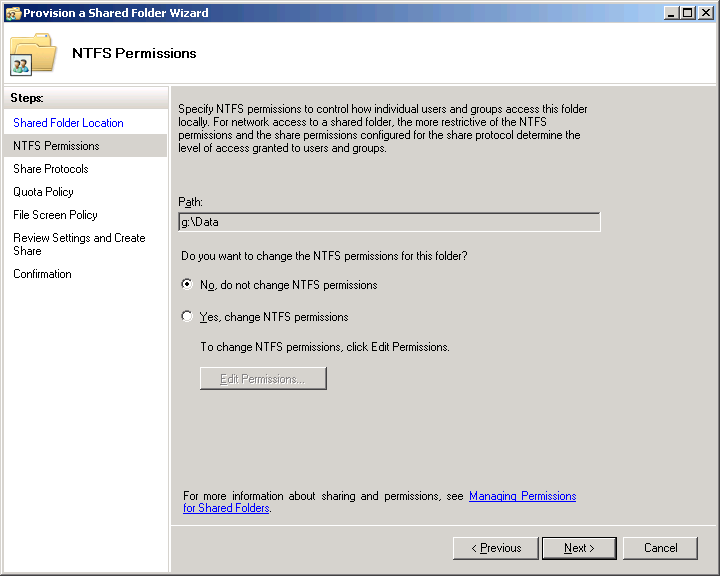

- Leave the default No, do not change NTFS permissions option selected and click Next. The Share Protocols page appears.
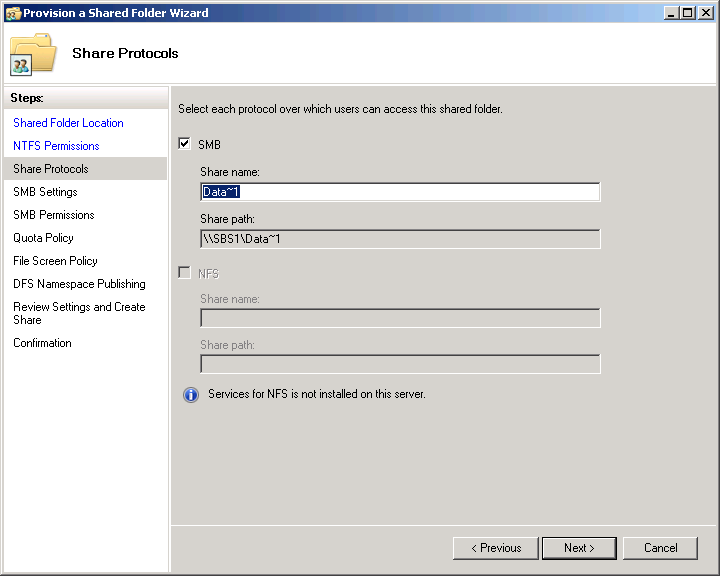
- Leave the SMB check box selected and in the Share name text box, type the name under which the share will appear on the network.
Note
The NFS option is dimmed because the Services for Network File System role service is not installed on the server running Windows SBS 2011 by default. Network File System (NFS) is a file sharing protocol used by most UNIX and Linux distributions. If you have UNIX or Linux clients that need access to your Windows shares, you can install the role service and configure your shares to use NFS as well as Server Message Block (SMB) file sharing.
- Click Next. The SMB Settings page appears.
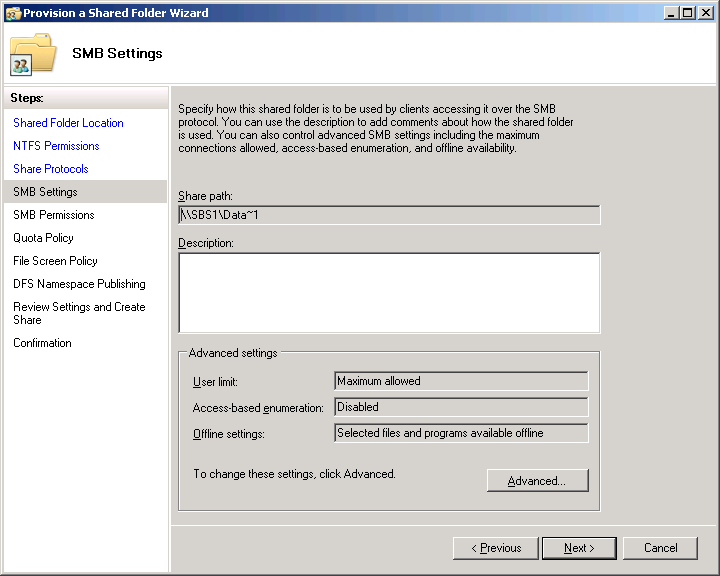
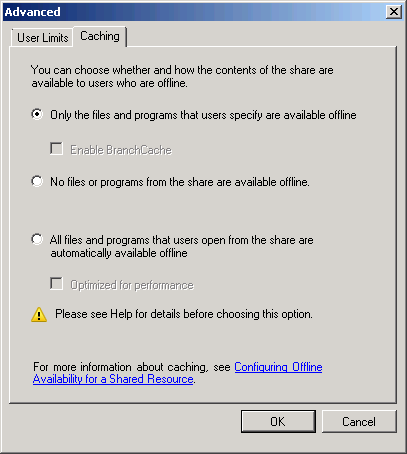
- Click Advanced to open the Advanced dialog box, in which you can configure the following SBS settings:
- User limits Specifies the maximum number of users allowed to access the share at one time.
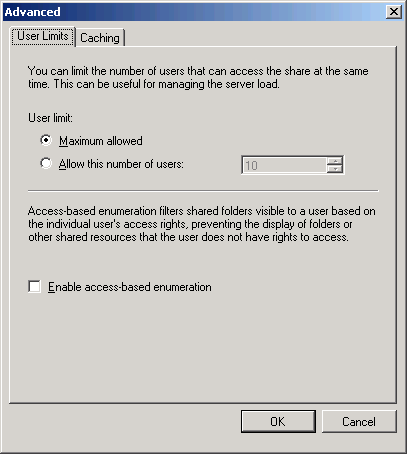

- Access-based enumeration When enabled, allows only the users with access permissions to see the share on the network.
- Offline settings Specifies whether users can save copies of the files in the share to local drives using Offline Files.
- User limits Specifies the maximum number of users allowed to access the share at one time.
- Click OK to close the Advanced dialog box.
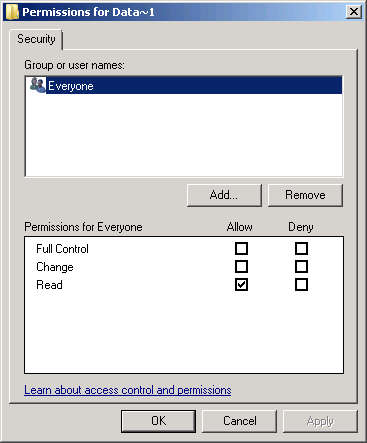
- Click Next. The SMB Permissions page appears.
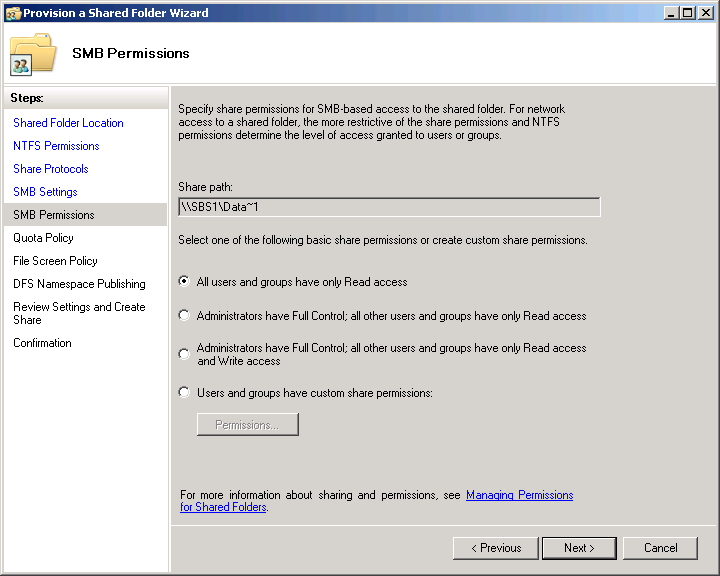
- Select one of the preset permission options or click Permissions to open a Permissions dialog box, in which you can specify the share permissions you want to assign to your users.

- Click Next. The Quota Policy page appears.
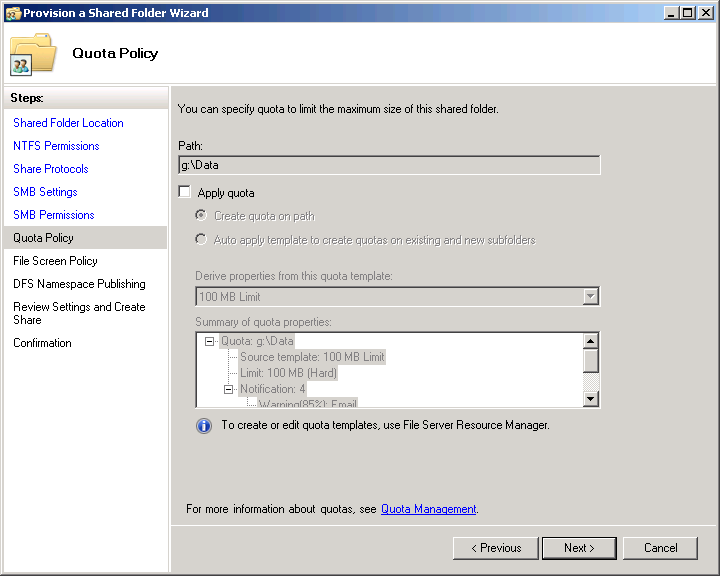
To set a quota on disk space consumption for each user, select the Apply quota check box and then select Quota options and a quota template.
- Click Next. The File Screen Policy page appears.
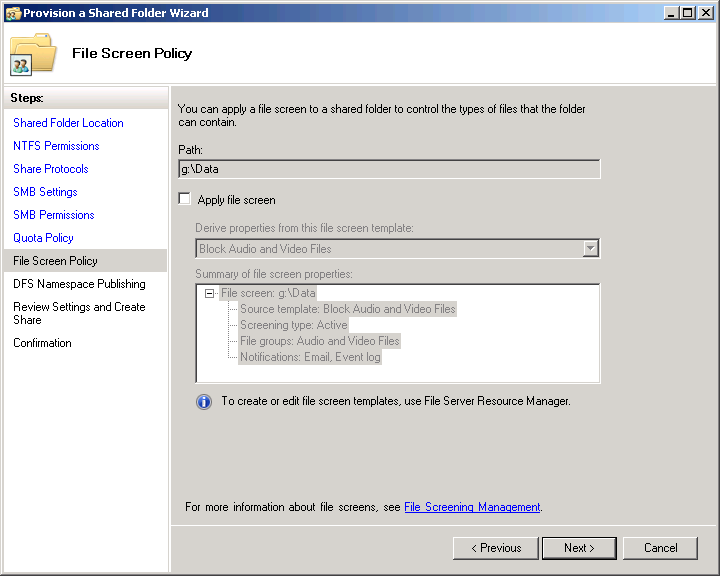
To use file screening, select the Apply file screen check box and then select a file screen template.
- Click Next. The DFS Namespace Publishing page appears.
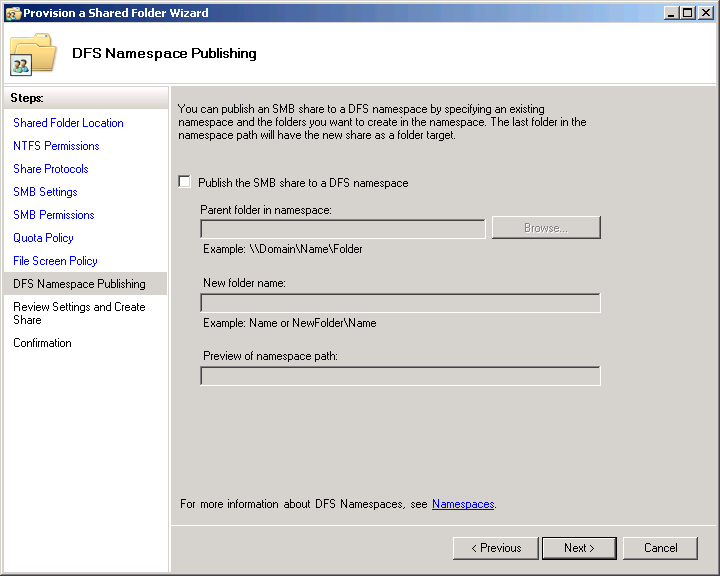
To add the share to a DFS namespace, select the Publish the SMB share to a DFS namespace check box and specify a namespace location and a folder name.
Note
The Distributed File System (DFS) is a feature of Windows Server 2008 R2 that enables you to combine shares from various locations into a single virtual namespace. To use DFS, you must install the File Services\Distributed File Services role service using the Server Manager Console and then create and configure a DFS namespace.
- Click Next. The Review Settings And Create Share page appears.
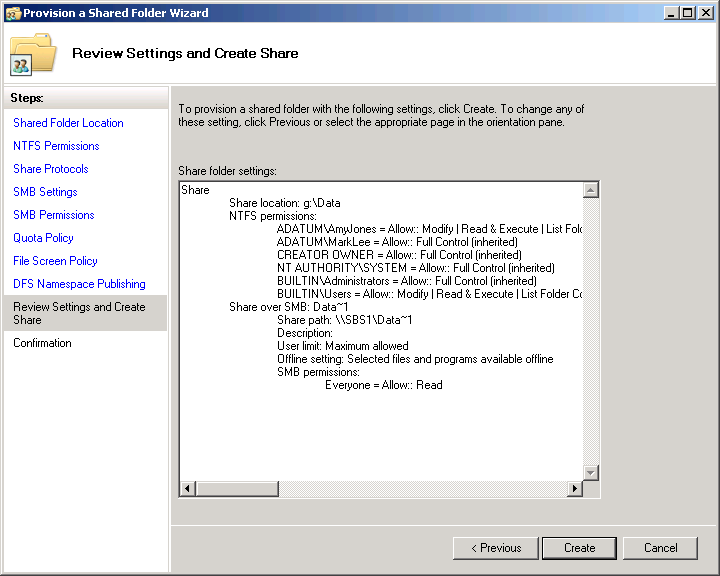
- Click Create. The wizard creates the share and the Confirmation page appears.
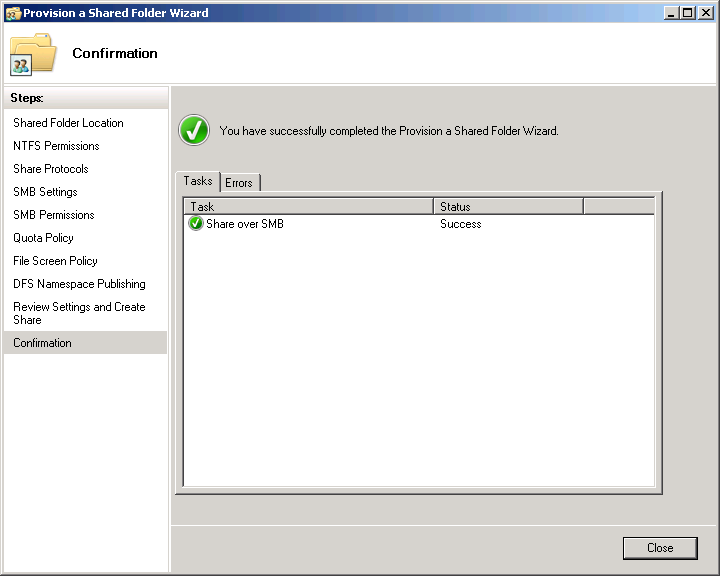
- Click Close. The wizard closes.


