Videos can do a lot of good for your business. They can create brand awareness, increase recognition, promote your products and services, as well as educate the public about your company. You can use them in blog posts on your site, embed them in newsletters, or even create a company channel on YouTube.
Marketing videos are very effective at bringing attention to products or services, so your target audience won’t have to do any additional online research about your business—they can get everything they need from your videos if you’ve done them right. Your videos should present your products or services in such a way that the viewer can easily understand the message behind it.
However, not all of us are skilled video editors. You may think that you, as a business owner or a marketer, will have to hire a video-editing professional or invest valuable time making sense of complex software. Not necessarily.
You can choose a program that’s easy to learn and use but still provides you with advanced tools that will make your business videos look truly professional.
That’s exactly what Movavi Video Editor Plus is all about. It has been designed with less-experienced users in mind, so the developers wrapped all the advanced tools into intuitive one-click controls. Thanks to this approach, you can use sophisticated tools like Chroma Key and object animation without ever having to get to the bottom of how they work.
Let’s find out why Movavi is so great for video creation for business and how to use it to make your first video.
How to Make Marketing Videos
Movavi Video Editor Plus is a simple video editing program available for Windows and Mac. It gives you lots of features, including the ability to combine multiple clips to create professional-looking films. And here’s how to use it to your advantage.

Start by Working Out the Concept of Your Video
Everything great starts with a simple idea, and your video is no different. Think about what you want to show your audience, what emotions you want the video to evoke, and what you need to achieve your goal. The best way to organize your thoughts is to sketch a storyboard, either by hand or with digital storyboarding tools. Come up with the general plot idea, divide it into parts, and think each section through. Make notes as to the soundtrack you will use, the moments you want like to highlight, and where captions are needed.
Shoot the Video
Next comes the most demanding part of the job. Whether you’re shooting an ad with a camera, recording a program demo from your screen, or having an illustrator create graphics for your project, it may take several days to produce enough high-quality raw footage. Take your time and make sure you have enough spare takes to choose from.
Organize Files in Movavi Video Editor Plus
The first thing you’ll notice about the software is its clean user interface. It has a streamlined design, and everything is organized in a user-friendly layout that makes navigation intuitive. When you click on each effect, title template, or other elements, you get a quick preview of how it will look in your project. Another great feature is the timeline view, which enables you to drag and drop files right from your hard drive into the program. Alternatively, you can store all your files in the Media bin and move them to the timeline when you need them. All of this saves you a lot of time preparing for your project as well as working on it. You can also grab video and voice-over from external devices and use the recordings in your final video.
Edit the Footage
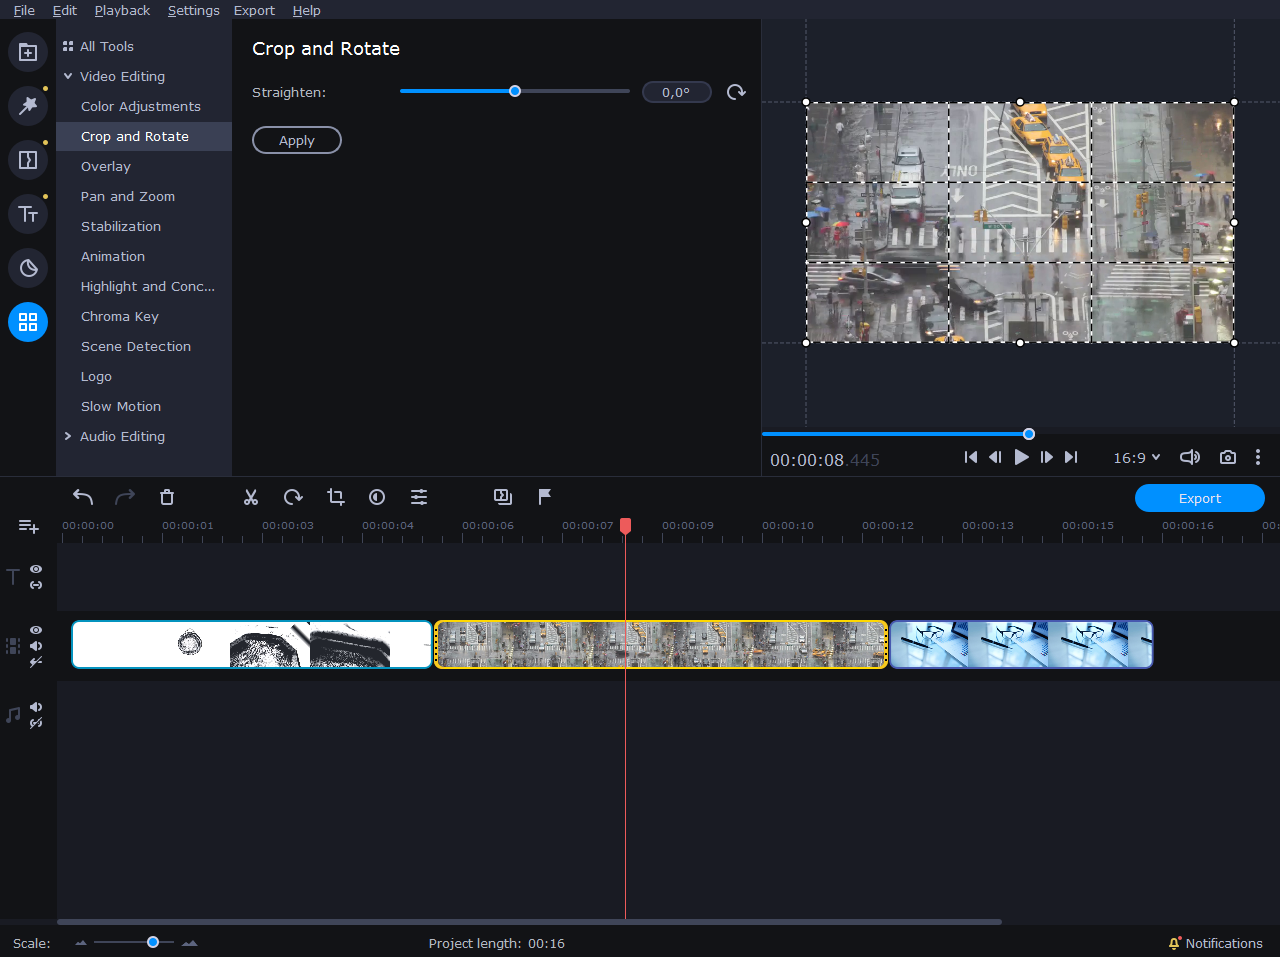
When you first upload your files to the program, you will need to set the aspect ratio for your project. It depends on the videos you have, and how you plan to use them, so select the one that fits best: 4:3, 16:9, 9:16, 1:1, or custom. Arrange the files on the timeline in accordance with your storyboard, and start editing:
- cut clips into parts
- trim videos that are too long
- rotate clips with the wrong orientation
- crop the edges of selected files
Enhance the Quality
The higher the quality of your video, the greater its chances of getting more views. This is why you need to take extra care with your footage. For instance, you can get rid of annoying jitter with the help of Movavi’s stabilization tool. It’s a life-saver for videos shot on the go.
Colors play an important part in videos, too, especially in promotional clips. They create a specific atmosphere that will be associated with your products, services, and business in general. With Movavi, you can adjust colors manually or trust professional lookup tables (LUTs). LUTs are pre-made templates that can recreate color schemes from different movies or combine hues and tints that match well. Ideally, your entire video should use the same color pattern to make it more pleasing to the eye.
Work With Audio
Next, import the audio you’re planning to use as background music. The important thing here is to make sure that the soundtrack fits the duration of your video. You can join several files together if they are too short or trim a long audio file to match the video length. To make the onset or ending of your music less abrupt, add fading-in and fading-out effects at the beginning and the end of your video. Another useful adjustment is beat detection. The program shows beat markers on the timeline, so you can arrange the clips to fit the music.
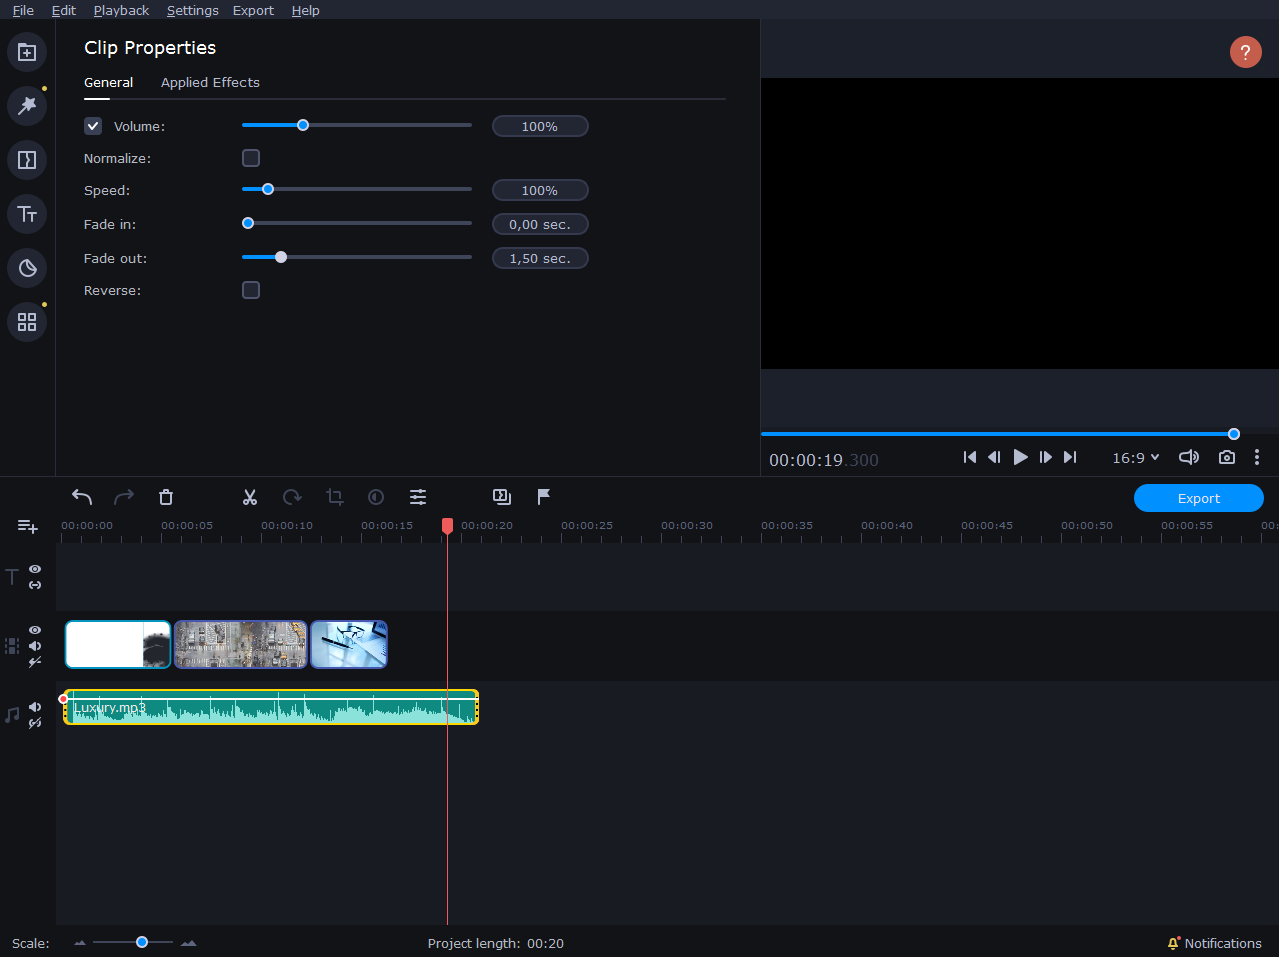
Audio quality can make or break your video. No matter how great the visuals are, if your sound lags or has background noise, people will turn away. Movavi tools enable you to reduce the level of background noise, normalize volume, and experiment with the equalizer settings to achieve the ideal balance.
Take Advantage of Special Effects
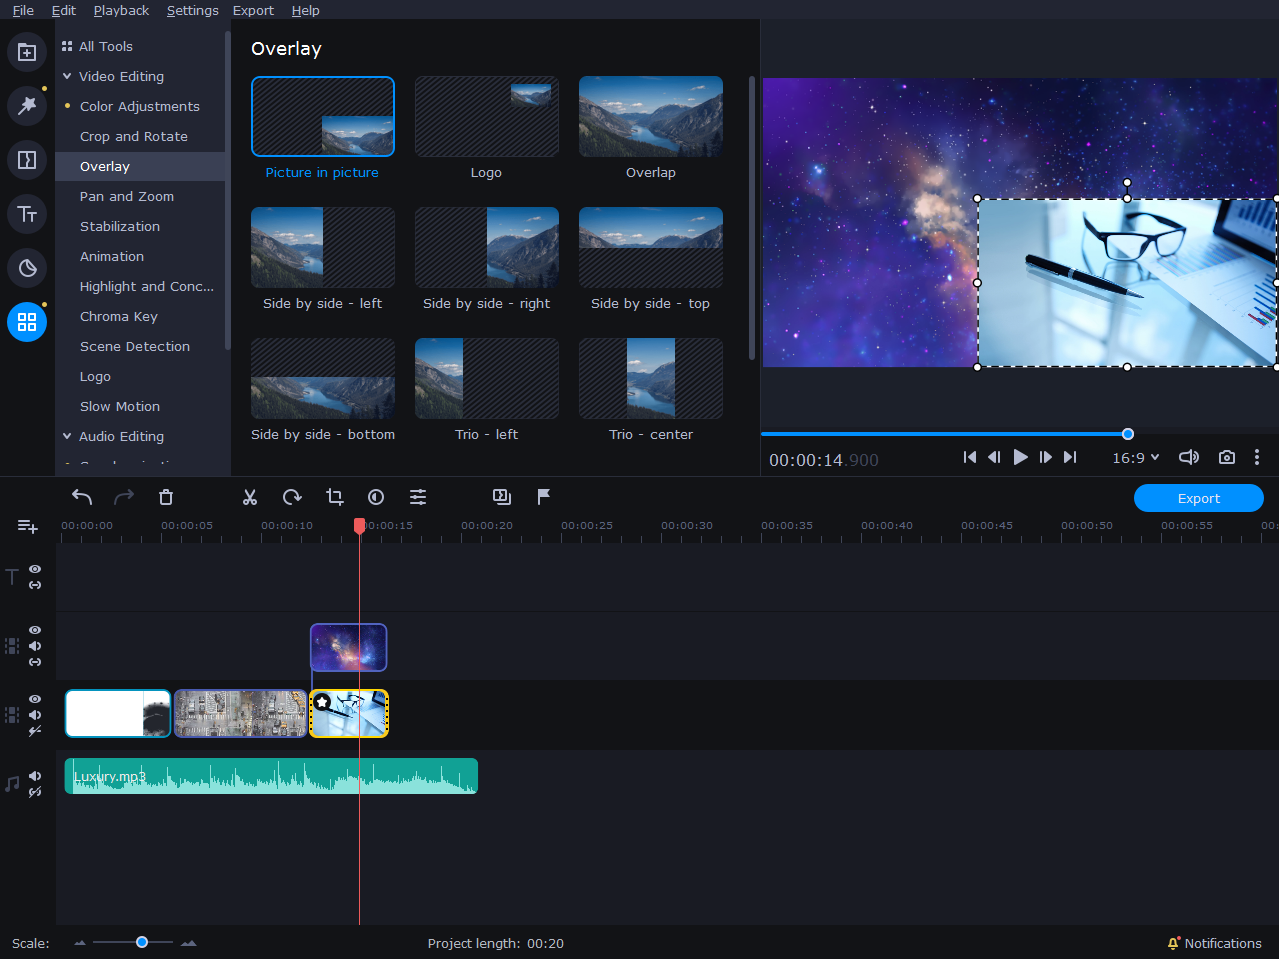
Movavi Video Editor Plus has a set of tools used in professional videography: Chroma Key, object animation, overlays, and many more. At the same time, Movavi enables you to use these tools even if you have no experience in the creation of special effects. You can replace background color in two clicks with Chroma Key, provided you have solid color as a backdrop. As for overlays and animations, pick a template, drag it to the selected clip, and adjust the properties to meet your needs.
Use Visual Cues
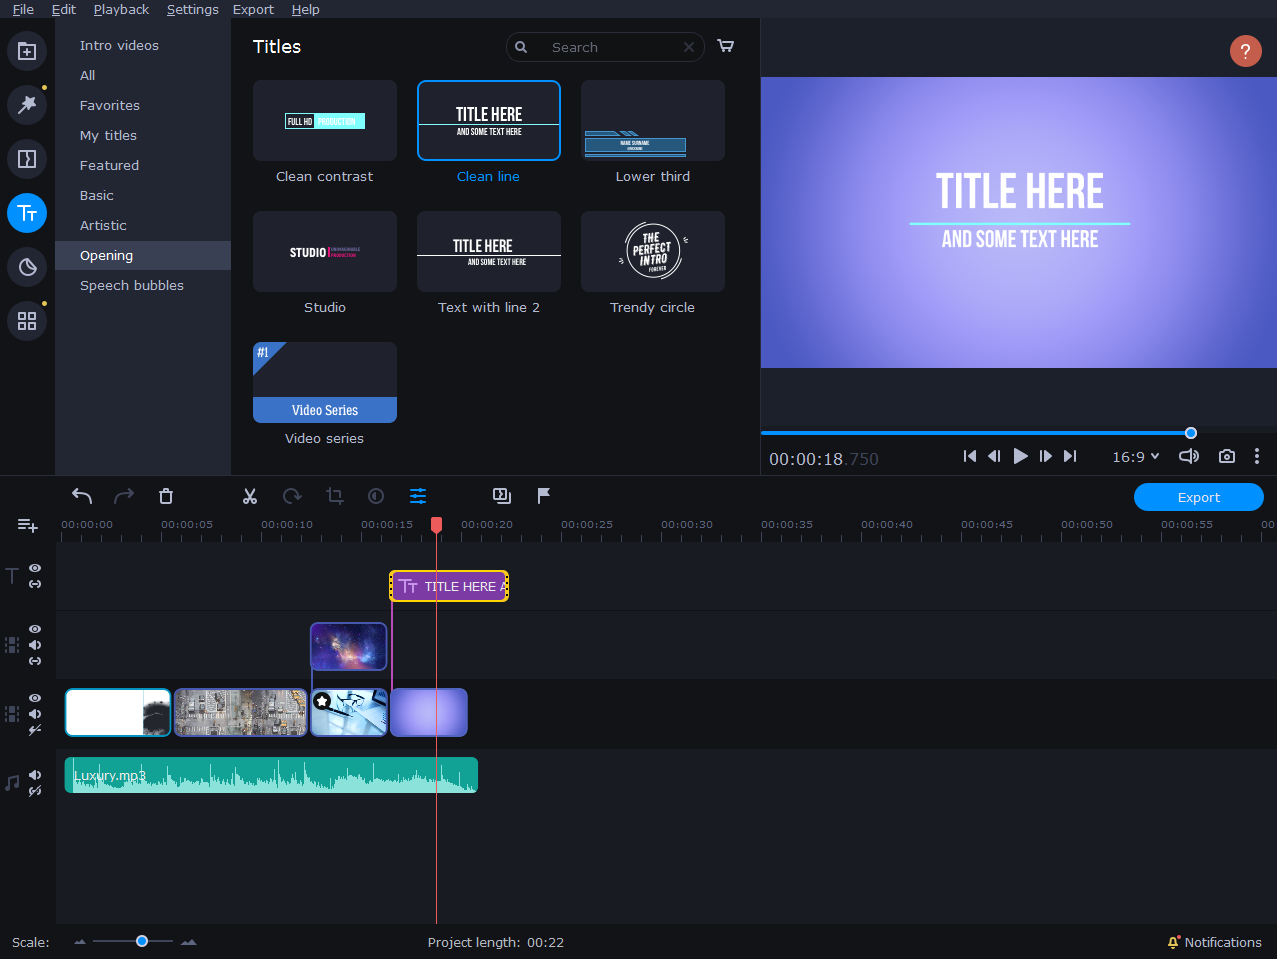
The right visual cues will help you get your message across. Insert opening and closing titles, captions, and stickers to explain something or convey a particular mood. Add transitions to individual clips or to all clips at the same time so the video flows smoothly. But take care not to go overboard. Too many additional elements can overwhelm viewers and make them want to run in the other direction. A good move here is to set up a focus group to tell you whether your stylistic choices are appropriate.
Add a Personal Touch
Brands are recognized thanks to their emblems and unique style. That’s why it’s a good idea to make your videos personalized—that is, add custom logos, recognizable intros, and other elements that will make your business stand out from the rest. The Logo button in the Video Editing section enables you to add an image that will appear throughout the whole video.
As for intros and outros, you will find all the tools you need to create them in the Titles tab. An intro is a short clip that you can place at the beginning of every video you produce to increase brand recognition. Place a template on the timeline and make the appropriate changes: upload a new background, insert text, or add decorative elements like stickers and filters. You can save the preset and use it in any future video.
Preview Your Video
To avoid any unpleasant surprises and video-editing mishaps, re-watch your video a few times before saving it. In Movavi Video Editor Plus, you can watch the preview in high resolution to get a complete picture of what you’ll get in the end.
Save and Export the Results
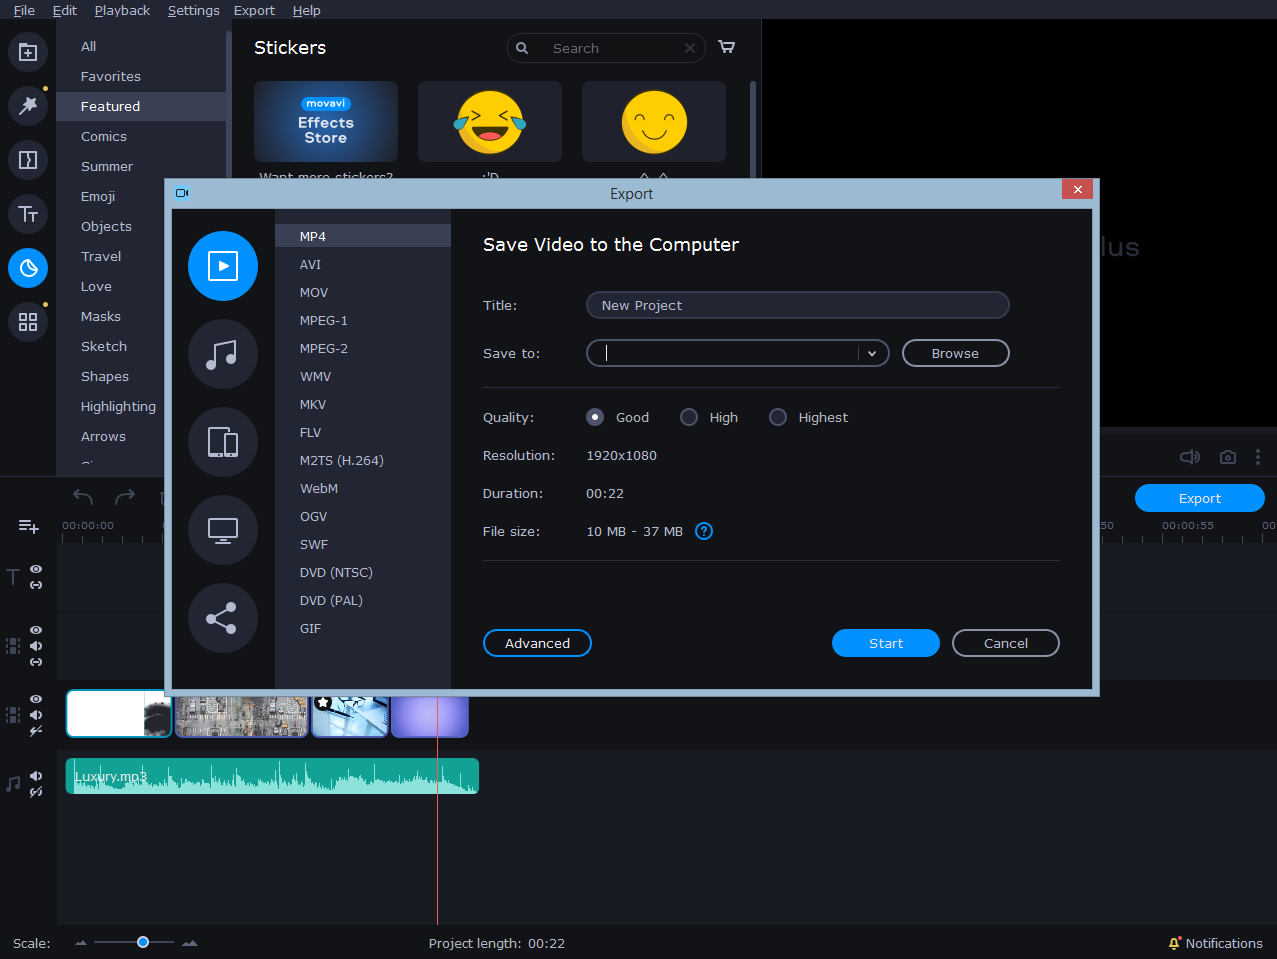
When your final video is ready to be seen, you can save it in the most appropriate way:
- save it on your computer in any video format, including MP4, AVI, MOV, MKV, and more
- optimize it for viewing on a range of mobile devices
- export it to YouTube, Google Drive, or Vimeo directly from the program
Final Thoughts
You don’t have to use complex software to make a successful video that has the potential to go viral. One of the easier solutions is to use Movavi Video Editor Plus at the editing stage and follow this checklist:
- Create a well-thought-out plan and a storyboard.
- Shoot the video at the best possible quality.
- Edit the footage: crop, rotate, and trim the clips.
- Stabilize shaky clips and adjust colors to set the mood.
- Add music and edit it to fit the video length.
- Enhance the audio: normalize volume and remove background noise.
- Make judicious use of special effects to make your video look professional.
- Overlay additional visual elements like captions, stickers, and transitions.
- Add your company logo and a unique intro.
- Save the results in any convenient format, optimize it for a mobile device, or upload it to your YouTube channel.

