How-To Install Complementary Shaders
- Download and install Optifine
- Open the Minecraft game and select the newly created optifine profile;
- Download the Complementary Shaders
- IMPORTANT: Don’t forget to unzip the “Complementary_v3.XX_ [UNZIP_ME]” file that you downloaded
- Run Minecraft game
- Open Options -> Resource Packages -> Open Package Folder;
- Put the “ComplementaryResources_3.xx” (zipped file) inside .minecraft\resourcepacks;
- Select the Complementary Resources in the resource pack list in-game;
- Open Options> Video Settings> Shaders> Shaderpack Folder;
- Put “ComplementaryShaders_3.xx” (compressed file) inside .minecraft \ shaderpacks;
- Select Complementary Shaders from the game’s list of shaders;
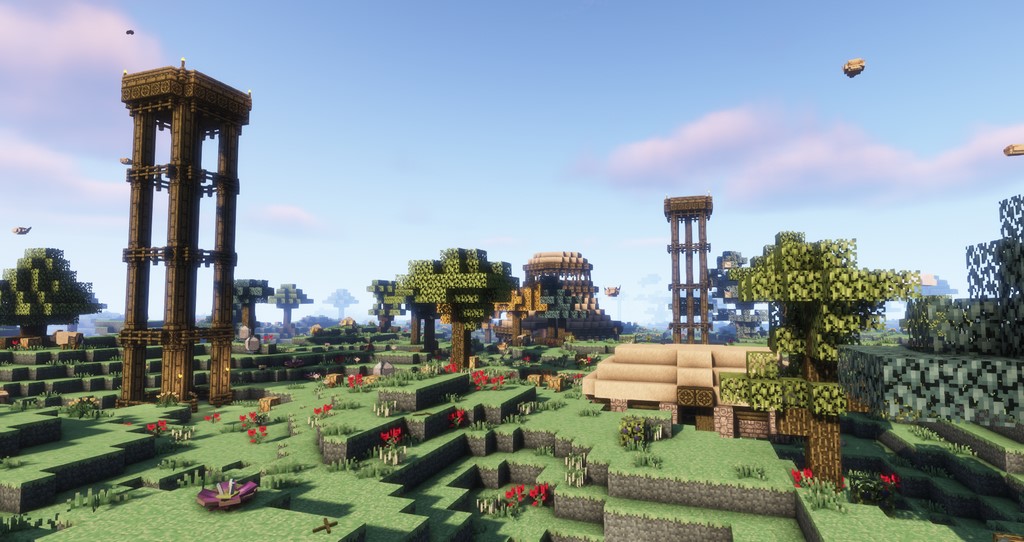
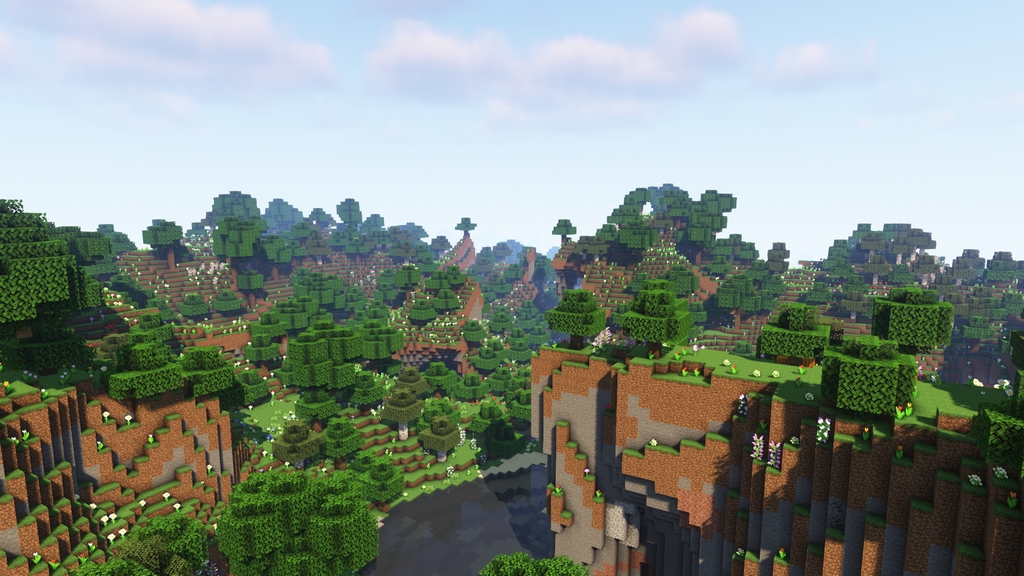
Complementary Shaders 1.17 /1.18 will help you improve an already cool game like Minecraft. Although it improves a bit of everything, it will not ruin your performance. This shader pack is specially designed to keep everything running smoothly.
Complementary Shaders is the perfect shader pack to improve Minecraft graphics and performance. If you’ve ever played Minecraft for more than five minutes, you know the game is insanely fun, but a bit lackluster in the graphics department.
- Top 10 Best Minecraft Java Seeds for Minecraft in 2022
- 17 Best Minecraft 1.19 Seeds (Java, Bedrock and Pocket Edition Seeds)
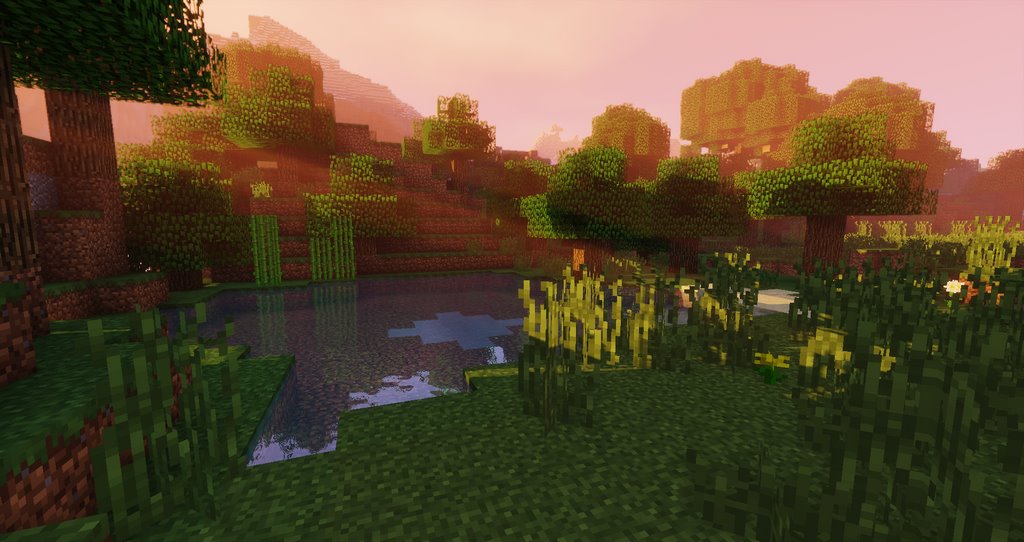
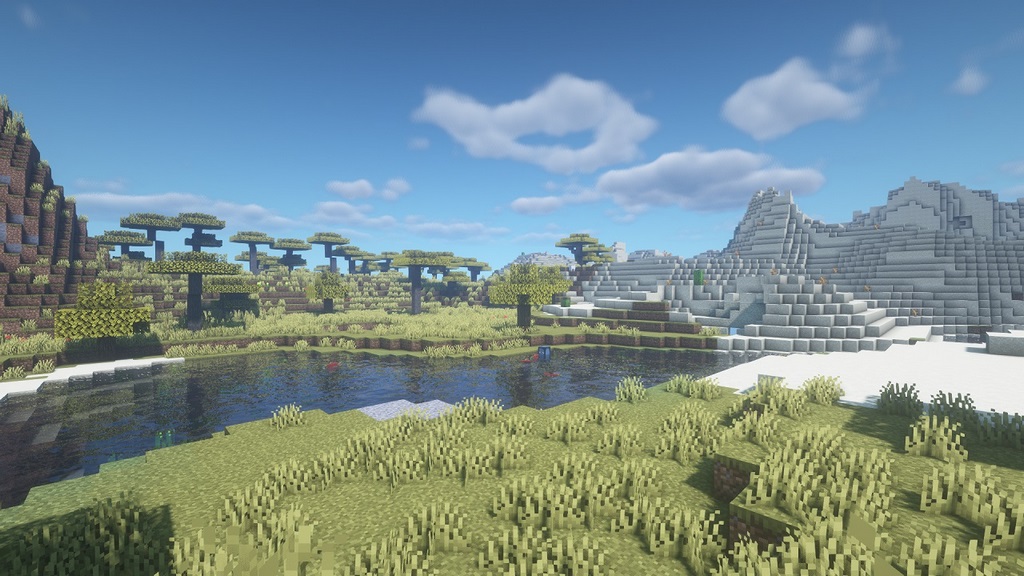
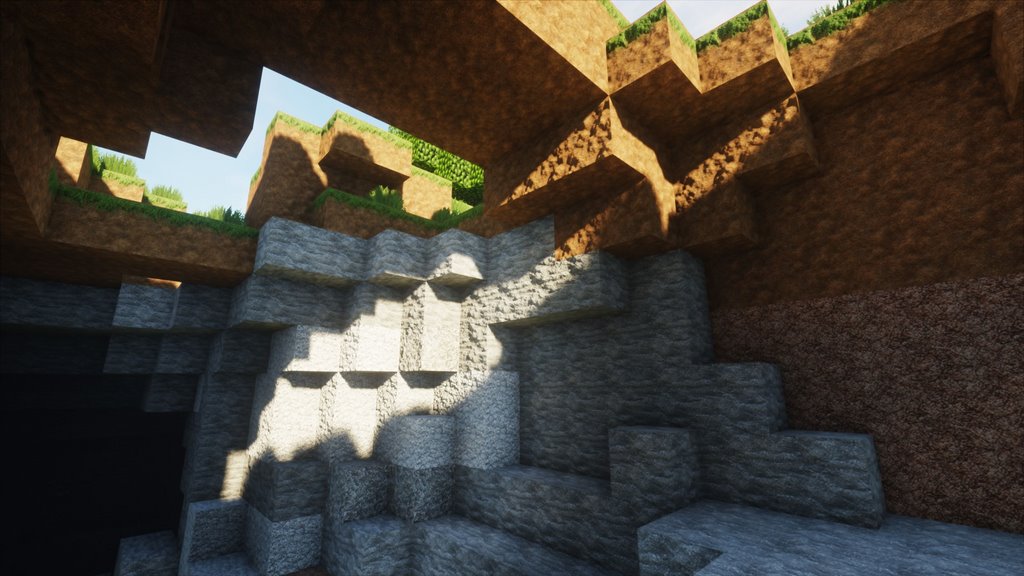
Screenshot :


Download link Complementary Shaders 1.17 / 1.18 / 1.19 / 1.20 :
[1.20.x – 1.7.x] Download Complementary Shaders
How to install OptiFine
Follows 5 Steps bellow to install OptiFine on Windows and Mac :
1. You need ready installed Minecraft Forge.
2. Download a Forge compatible mod from url download, or anywhere else!
3. Open Minecraft, click ->> ‘Mods’ button on the main menu, click – >> ‘Open Mods Folder’.Important: Some older versions of Forge may not have the ‘Open Mods Folder’ button. If that is the case, you need to find the folder manually. Windows:
- Press the Windows key and R at the same time
- Type %appdata% and press enter
- Find the Minecraft folder and then look for the Mods folder within that
Mac:
- Click on the desktop and then press Command+Shift+G all at the same time
- Type ~/Library and press enter
- Open the folder Application Support and then Minecraft
4. Place the mod file downloaded (.jar or .zip) into the Mods folder.
5. Relaunch Minecraft, and you should now see the new mod installed in the list!