To enhance the Minecraft experience, you can install custom shaders. Here’s how you can install shader in Windows 10 Minecraft Bedrock Edition.
What is Windows 10 Version Minecraft Bedrock Edition ?
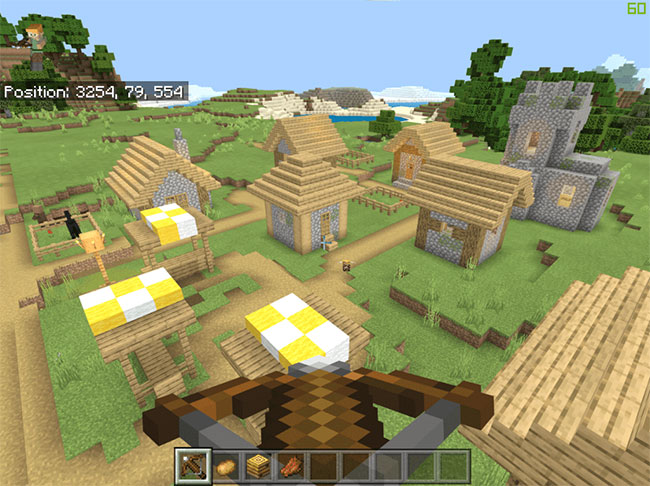
Compared to Minecraft Java Editon, the version of Minecraft Windows 10 or Bedrock is quite light and uses less resources. You can still enhance your Minecraft experience by installing shader packages. Depending on the shader package, you can easily improve the look and feel of your Minecraft world with just a few clicks.
- Top 10 Best Minecraft Java Seeds for Minecraft in 2022
- 17 Best Minecraft 1.19 Seeds (Java, Bedrock and Pocket Edition Seeds)
Install shader in Minecraft Bedrock Edition
The article assumes that you already have the shader package you want to install. If you haven’t already and want to try something new, use websites like mcpedl.com. This site has some of the best shader packages and more.
1. Download your favorite shader package for Minecraft Bedrock Edition. The shader package Bedrock will be in .mcpack file format. In the example case, the article downloaded is shader package : SimpleShader .
2. After downloading your favorite shader package, open File Explorer and find the downloaded file. Normally, it will be in the your default Downloads folder.

3. Double click on the shader package. As soon as you do that, Minecraft will open and enter the target shader itself. You may see the message “Import Started” while the package is importing. When done, you will see the success message.
4. After installation, the shader package will automatically be activated. If not, open the Minecraft settings page and go to the “Global Resources” tab. Expand the “My Packs” section and click the “Activate” button below the shader package.

5. Performing the above action will activate the shader package and move it to the top.

You have successfully installed and activated the shader package in Minecraft Bedrock Edition!