Facing the dreaded “Install error” message with code 0x80070103 during Windows 11 updates can be frustrating. But fear not! This guide equips you with effective solutions to eliminate this error and get your updates flowing smoothly.
Understanding the Windows 11 Error 0x80070103
Error 0x80070103 typically arises when Windows 11 attempts to install a driver already present on your system or one incompatible with the update. This creates a conflict, leaving you staring at the error message.
How to Fix
Sometimes, a simple retry or pausing and resuming updates can do the trick. Try that first! If the error persists, proceed with the following methods:
Windows Update Troubleshooter
Running the Windows Update Troubleshooter can automatically detect and resolve issues with the update components. Follow these steps:
- Press Windows + I to open Settings.
- Select “System” and click on “Troubleshoot” from the right menu.
- Expand all troubleshooters and run the Windows Update troubleshooter.
- Apply any identified fixes and follow on-screen instructions to complete the repair process.
Manual Installation
- Open Settings by pressing Windows + I keys simultaneously.
- Navigate to Windows Update and locate the failed update in the update history.
- Note the failed update number and search for it on the Microsoft Update Catalog.
- Download the update manually and run the installer to update your system.
Restart the Update Service
Restarting the Windows Update Service can refresh the update process and potentially resolve the error. Here’s how:
- Press Windows + R to open the Run dialogue box.
- Type “services.msc” and press Enter.
- Locate “Windows Update” in the list of services, right-click, and select “Stop.”
- Right-click “Windows Update” again and choose “Restart.”
Install Optional Updates
Windows often generates updates for drivers separately from major updates. Since the 0x80070103 error is driver-related, installing optional updates can resolve it. Follow these steps:
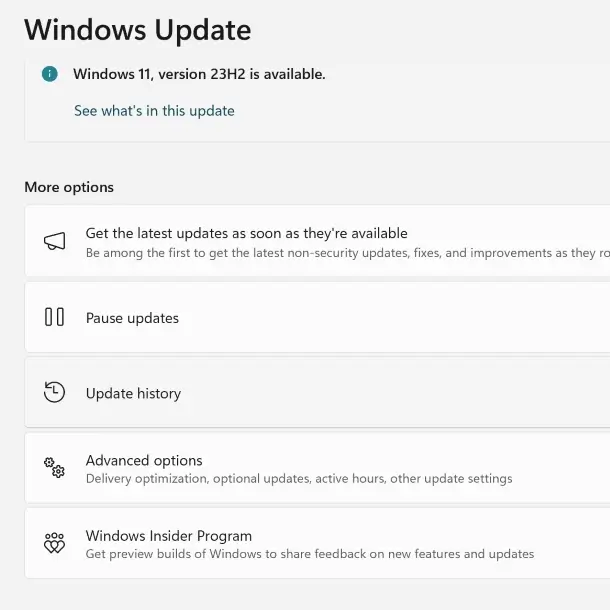
- Press Windows + I keys to open the Settings window.
- Select “Windows Update” and click on “Advanced options.”
- Navigate to “Additional updates” and click “Optional updates.”
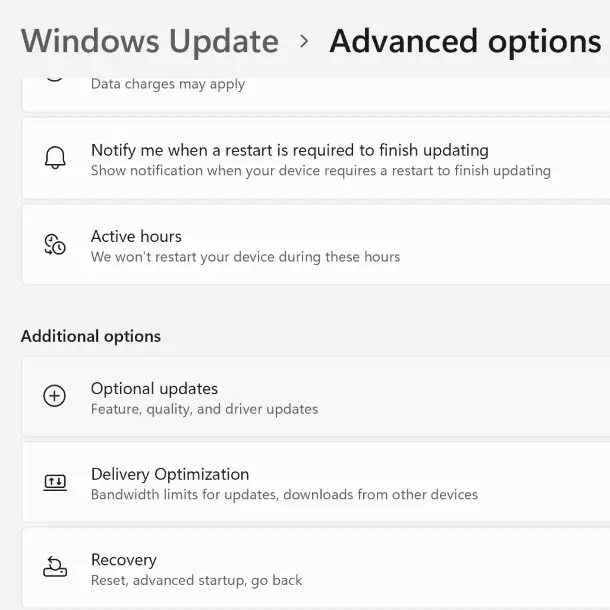
- Choose the desired updates and click “Download & install.”
- Reboot your system if required after the installation.
Run SFC and DISM
These tools scan and repair corrupt system files. Open an elevated Command Prompt (search for “cmd“, right-click “Command Prompt“, and select “Run as administrator“) and run these commands:
sfc /scannow(wait patiently for the scan to complete)- If SFC fails, try:
Dism /Online /Cleanup-Image /CheckHealthDism /Online /Cleanup-Image /ScanHealthDism /Online /Cleanup-Image /RestoreHealth
Delete the SoftwareDistribution Folder
Corrupted files within the SoftwareDistribution folder can contribute to the install error. Deleting this folder can often resolve the issue. Follow these steps:
- Open an elevated Command Prompt.
- Stop Windows Update-related services using the commands:
net stop wuauservnet stop cryptSvcnet stop bitsnet stop msiserver.
- Delete all files and folders in
C:\Windows\SoftwareDistribution. - Restart Windows Update services:
net start wuauservnet start cryptSvcnet start bitsnet start msiserver
- Run Windows Update again.
Use the Windows 11 Media Creation Tool
If the error persists despite installing optional updates, another effective solution is to utilize the Windows 11 Media Creation Tool. Follow these steps to employ this method:
- Download the Windows 11 Media Creation Tool from Microsoft’s official website.
- Once downloaded, navigate to the Media Creation Tool file, run it, and accept the license terms.
Option 1: Upgrade This PC Now
- Check “Upgrade this PC now” and click “Next.”
- Wait for Windows 11 to download. The duration may vary based on your PC and internet connection.
- Follow the on-screen instructions, choose whether to keep personal files and apps, personal files only, or nothing, then click “Next” to proceed with the installation.
Option 2: Create Installation Media
- Check “Create installation media (USB flash drive, DVD, or ISO file) for another PC” and click “Next.”
- Select Language, Edition, and Architecture manually, or opt for the recommended options.
- Choose either USB flash drive or ISO file as the installation media.
- Follow the on-screen instructions to complete the process.
With the right approach, you can overcome error 0x80070103 and keep your Windows 11 system up-to-date and secure. So, go forth, update with confidence, and conquer any error that stands in your way!
Related: