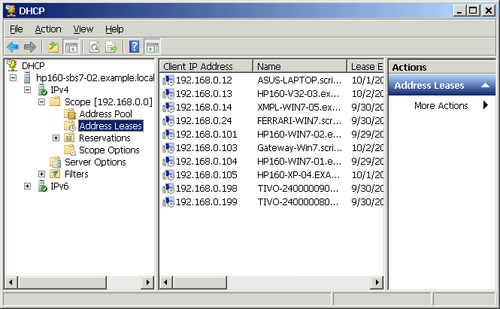
1.4. Setting DHCP Options
The process for setting DHCP options is essentially the same regardless of the level you set the option at. As described in the DHCP Options Scope Under Each level of DHCP inherits options from the higher level but can override them. As an example of setting DHCP options, we’ll set the Host Name option for the DHCP reservation for our printer. (The printer is assigned a DHCP reservation at 192.168.0.40.)
To set the host name for the printer using a DHCP option, use the following steps:
-
In the left pane, expand the containers until you can select Reservations.
-
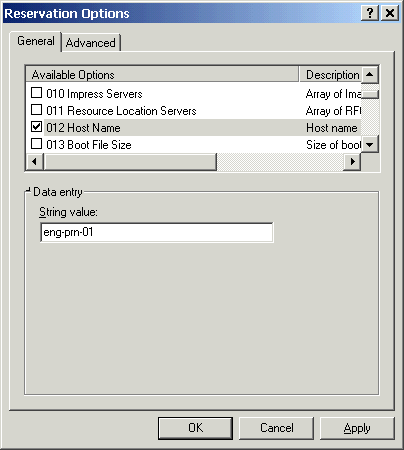
Scroll down in the Available Options list to 012 Host Name, and select the check box next to it as shown in Figure 5.
Figure 5. Setting the host name for a DHCP reservation
-
Enter the host name for the printer in the String Value field, and click OK to return to the DHCP console.
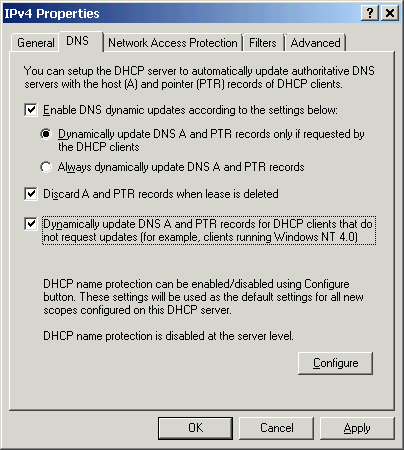
1.5. Enabling DNS Updates
On an SBS server, the DHCP server is by default not configured to automatically update the DNS server when it assigns an IP address to a client. This is not a problem for Windows clients because they will update their own records. But if you have other types of DHCP clients, you can configure DHCP to handle the DNS update automatically.
To enable DHCP to automatically update the DNS records, follow these steps:
-
Right-click IPv4, select Properties, and then click the DNS tab to bring up the IPv4 Properties dialog box, shown in Figure 6.
Figure 6. The DNS tab of the IPv4 Properties dialog box

-
Click OK when you’ve made your changes to return to the DHCP console.
Windows Small Business Server 2011 : DHCP and DNS (part 3) – Managing DNS, DNS Forwarding