Problem : WiFi with exclamation mark
The error Wifi with yellow exclamation mark is quite common in Wifi device, causing computers not to catch WiFi. This error occurs when IP conflict or the number of people connected to Wifi reach to limited network.
Solution : How to fix error “WiFi with exclamation mark”
Follow 5 ways bellow to fix this error :
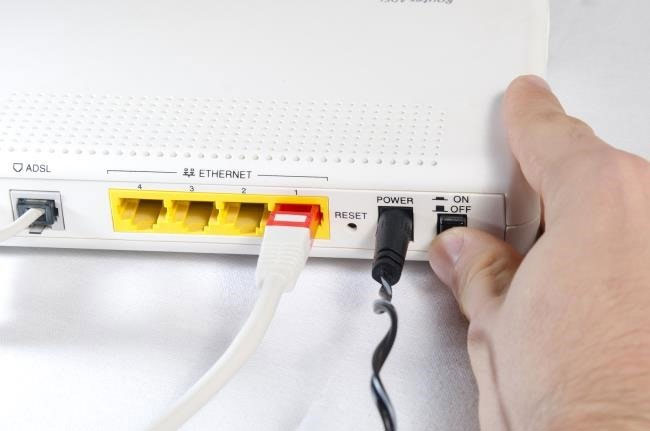
1 : Restart WiFi devices as modem, router …
First, you should reboot your Wifi devices. Turn off the Wifi device, wait about 1-2 minutes, then turn on it.
Note: just turn off the power, not restart the WiFi . Then you try to turn on Wifi to see if the connection is normal or not.
If you have not tried to use another computer to connect to Wifi , if the other computer is connected normally, then your computer is having IP conflict.
2: Refresh the IP address
Sometime WiFi exclamation error on laptop are due to your device conflict of IP address. In this case, please renew the IP, change to another IP range to fix the error.
3: Reset static IP for the computer
If using dynamic IP in the second way is not yet, you should set static IP for your device.
Step 1: Right-click on the network icon and select Open Network And Sharing Center.

Step 2: In the Settings window, select Network and Sharing Center.
Step 3: Go to the Network and Sharing Center window, click on the network you are connected to, select Properties.

Step 3: In Properties window appears, click Internet Protocol Version 4 (TCP / IPv4), then select Properties.
")
Step 4: In the window Internet Protocol Version 4 (TCP / IPv4) you select the Use the folowing IP address line and enter the following parameters:
+ IP address : example 192.168.1.15 (note: 192.168.1.xxx is required)
+ Subnet mask: The default is 255.255.255.0
+ Default Gateway: enter 192.168.1.1
Continue go to Use the folowing DNS server addresses and enter Google’s DNS address:
Preferred DNS Server : 8.8.8.8
Alternate DNS Server : 8.8.4.4

+Once done, you choose OK is finished.
4: Reinstall the Wifi driver for your computer
Step 1: Open the Run command window by pressing Windows + R key combination.
Step 2: Enter the this command devmgmt.msc and click OK.

Step 3: In The Device Manager window , find the option called Network adapters and expand Network adapters by clicking on the down arrow. Right-click on the adapter you used, and select the Update driver option.

Step 4: In Update Drivers windows, select Search automatically for updated driver software and wait to complete the update process.

When the process is finished, close the Device manager window and restart your PC.
If you still cannot fix it, continue with the following steps:
Step 5: In Update Drivers window, Select the second option Browse my computer for driver software.

Step 6: In Update Drivers window, Click Let me pick from a list of device drivers on my computer.

Step 7: Select the appropriate driver from the list and click Next.
Step 8: When the process is finished, close the Device manager window and restart your PC.
5: Reconfigure the wifi device
If you have done all of the above and still cannot connect to Wifi successfully, then it is likely that your device has an error and you will have to reconfigure it.


