Problem : How to fix the error “Problem With This Windows Installer Package”
The error message : “Windows Installer package” is not an unusual problem on Windows 7, Windows 8, or Windows 10. This Windows Installer package problem, sometimes called error 1722, not so serious and in fact, it is a fairly small, but annoying computer problem.
How do Windows Installer package errors appear?
The error Windows Installer usually appear as one of the following errors or a combination of errors in the system warning message.
The Windows Installer Service could not be accessed.ERROR 1722 There is a problem with this Windows Installer package. A program run as part of the setup did not finish as expected.
Windows Installer Service couldn't be started.
Could not start the Windows Installer service on Local Computer. Error 5: Access is denied.Solution : How to fix the error “Problem With This Windows Installer Package”

Follow this steps to fix the error 1722 :
1. Restart the computer.
2. Update Windows : Performing a Windows update will scan the device during the update process and fix some potential conflicts. The update process will also update the operating system and driver, which can fix the cause of the Windows Installer package error.
3. Update the Windows application.
4. Run Windows Troubleshooter: Go to Settings> Update & Security, then run Program Compatibility Troubleshooter and Windows Store Apps Troubleshooter. Both will scan and provide solutions for any application issues that are causing this error message to occur.
5. Application repair:
+ On Windows 8 and 10, right-click the application icon, then select More> App settings> Repair.
+ On Windows 7, you’ll need to do this from Control Panel> Uninstall a program, right-click the application name, then select Change> Repair.
6. Reset application: Resetting an application is a way to refresh it without having to delete it completely and reinstall it. This process can fix any problems you encounter.
To do this, right-click on the application icon and select More> App settings> Reset. The option is right below the Repair option.
Note: Resetting an application will erase all its local data.
7. Reinstall the application: If you know which application is causing the conflict, uninstall it and then reinstall it, because its installation may be corrupted or an important file may have been deleted. .
8. Disable some startup applications: Press Ctrl + Alt + Del, then select Task Manager> Start-up. The applications on this list are those that automatically start and run in the background when you turn on your computer. They can use up resources and cause conflicts. To prevent unnecessary things from running in the background, select their names, then select Disable.
9. Run Disk Clean-up: From File Explorer, select This PC, right-click the main hard drive, select Properties, then Disk Clean-up. This will eliminate unnecessary files and free up more space for applications to use.
10. Check if the Installer Service is running: Open the Start menu, select Run, type Services.msc, and then press Enter. Double-click the Windows Installer icon, then set the Startup type of Windows Installer to Manual. Select Start, then select OK.
11. Re-register Windows Installer:
+ In Windows 7, open the Start menu and select All Programs> Accessories> Run.
+ In Windows 8 and 10, open the Start menu and type Run.
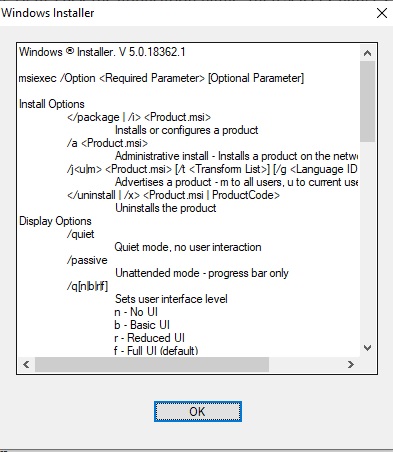
Enter msiexec / unregister and select OK. Now, do the same thing again but this time type msiexec / regserver and select OK.


