Internal security in Windows SBS 2011 is largely based on permissions. Permissions specify which Windows SBS 2011 resources a user is permitted to access and how much access the user receives. By the time you complete your Windows SBS 2011 deployment, the server and workstations have granted your users permissions for hundreds of files, folders, printers, AD DS objects, and registry settings automatically. Assigning permissions is a regular part of a network administrator’s job, but fortunately Windows SBS 2011 simplifies the process by enabling you to assign permissions to groups instead of individual users.
In Windows SBS 2011, a group is an AD DS object that functions as a proxy for all the other objects that the group has as its members. When you assign permissions to a group, all the group’s members receive those permissions as well. The groups that Windows SBS 2011 creates by default are based on specific network functions and resources. For example, the Windows SBS Remote Web Access Users group has the permissions needed for users to access computers on the network using the Remote Web Access (RWA) interface from a remote location. When you grant a user RWA access to a computer, the Windows SBS Console simply has to add the user object to the Windows SBS Remote Web Access Users group rather than assign all the necessary permissions to each individual user account.
Group memberships are completely independent of the AD DS hierarchy. You can add objects from any container in the domain to a group. If you choose to expand the AD DS tree by creating your own OUs, you can move user objects to other OUs as needed and they remain members of their groups.
Groups can also have other groups as members, a practice called group nesting. When you make one group a member of another group, the permissions you assign to the top-level group flow downward through the second-level group to its members as well.
Note
Windows Server 2008 R2 supports three group scopes: domain local, global, and universal. In a stand-alone Windows Server 2008 R2 installation, group nesting is subject to certain limitations, based on the group scopes and other AD DS settings. However, Windows SBS 2011 simplifies the matter. All the groups that Windows SBS 2011 creates by default are universal groups, and any universal group can be a member of any other universal group. When you create groups in the Windows SBS Console, you have no choice but to create universal groups. To create domain local or global groups, you must use the Active Directory Users And Computers Console.
Windows SBS 2011 supports two group types, as follows:
- Security groups Administrators use security groups to control access to network resources. Assigning permissions to a security group gives every member of the group all those permissions.
- Distribution groups Distribution groups, which are essentially mailing lists, enable users to send email to all members of the group at once.
Creating a New Group
You can create your own groups to control access to your network resources as needed. For example, you might want to create a group with limited access permissions called New Hires, which you use for individuals that have just joined the company. Instead of having to assign permissions to each new user object, you can simply add the users to the New Hires group. Once a user passes the probationary stage, you can give them greater access by simply moving them to other groups.
To create a new group in the Windows SBS Console, use the following procedure:
- Log on to your Windows SBS 2011 primary server, using an account with network Administrator privileges. The Windows SBS Console appears.
- Click Users and groups, and select the Groups tab.
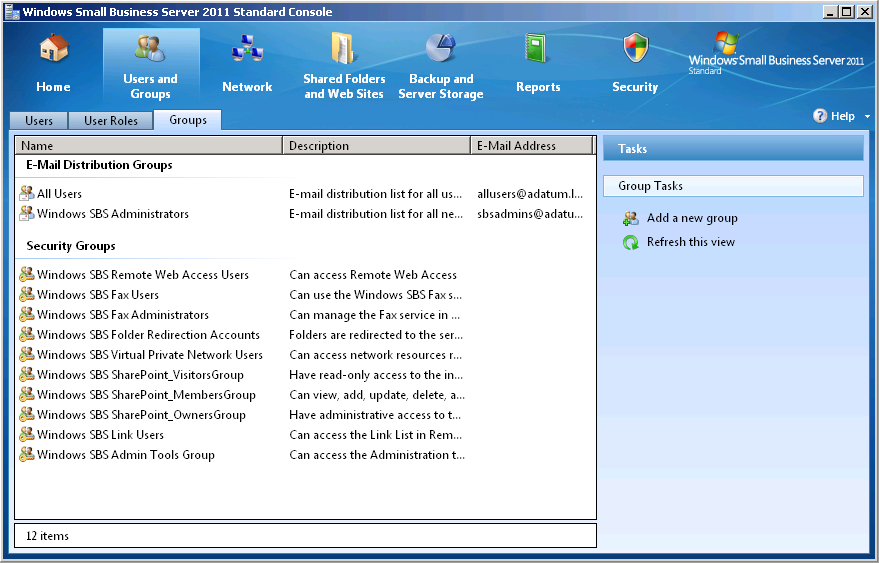
- In the Tasks list, click Add a new group. The Add A New Group Wizard appears, displaying the Getting Started page.
- Click Next to continue. The Add A New Group page appears.
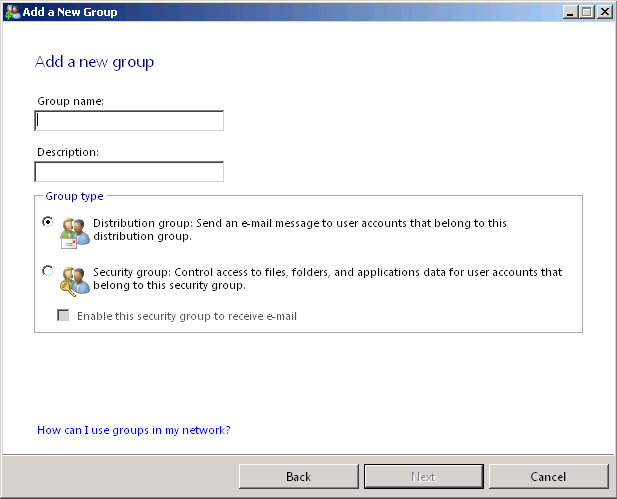

- In the Group name text box, type the name that you want to assign to the group. Type some informational text in the Description text box, if desired.
- Select the type of group that you want to create. If you choose the Security Group option, specify whether you want to be able to send email to the group by selecting the Enable this security group to receive e-mail check box.
- Click Next. The Select Group Members For 1 page appears.
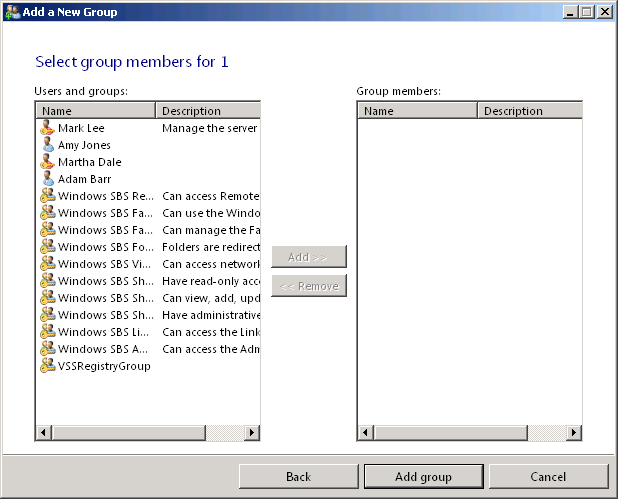

- In the Users and groups list, select the users and groups that you want to add as members of the new group and click Add.
- Click Add group. The wizard creates the group and the A New Group Has Successfully Been Added To The Network page appears.
- Click Finish. The wizard closes.
Managing Group Memberships
Once you have created the user and group objects that you need, you can manage your group memberships in two ways: by opening the Properties sheet for a user object and selecting the desired groups, as shown earlier in this chapter, or by opening a group’s Properties sheet and selecting the desired users, as shown in Figure 1.

Figure 1. The General tab in a group’s Properties sheet.


