2. Creating a New Share Using Windows Explorer
It is also possible to create a share outside of the Windows SBS Console, by accessing the folder itself in the Windows Explorer interface. These two share creation methods are interchangeable; shares you create in the Windows SBS Console appear as shared in Windows Explorer, and shares you create in Windows Explorer appear on the Shared Folders tab in Windows SBS Console. The main difference between the two methods is that the Windows SBS Console provides more comprehensive control over the share and all the necessary permissions, but for most administrators, which tool you use is a matter of personal preference.
To create a share in Windows Explorer, do the following:
- Log on to your Windows SBS 2011 Server, using an account with network Administrator privileges.
- Click Start. Then click All Programs > Accessories > Windows Explorer. The Windows Explorer window appears.
- Browse to the folder you want to share, right-click it, and from the context menu, select Properties. The Properties sheet for the share appears.
- Click the Sharing tab.

- Click Advanced sharing. The Advanced Sharing dialog box appears.
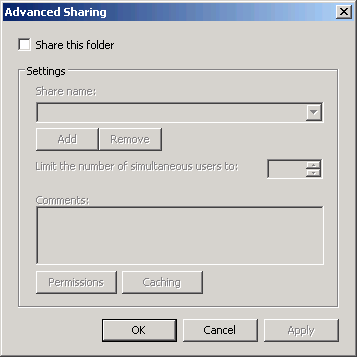

- Select the Share this folder check box.
- In the Share name text box, type the name under which the share will appear on the network.
- Click Permissions. The Permissions dialog box for the share appears.
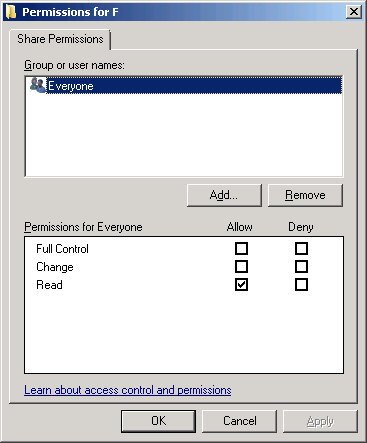

- Specify the permissions you want to assign to the share and click OK.
- Click OK to close the Advanced Sharing dialog box.
- Click Close to close the Properties sheet.
Note
Unlike the Provision A Shared Folder Wizard, the Advanced Sharing dialog box does not provide the ability to set NTFS permissions or configure SMB settings, file quotas, file screen policies, or DFS namespace settings as you create the share. You can, however, configure these settings after you have created the share, using the various tools available in Windows Server 2008 R2.


